
Marching Beyond Time
This Arc's class only fits certain characters. Based on independent community sources, the Solid class currently includes:



List based on community sources, not necessarily the full current roster — a character absent here simply has no confirmed source yet, not necessarily an exclusion.
Time Beyond Time
Increases ATK by 16%.
Enters Wastelab and clears current Wastetime when the wearer casts a Redirect Skill. While in Wastelab, allies gain 1 stack of Wastetime each time they use a Redirect or Support Skill, up to 3 stacks. When the wearer uses their Ultimate in Wastelab, they exit Wastelab and consume all Wastetime, increasing Ultimate Crit DMG by 24%, plus an additional 8% per Wastetime consumed. Consuming 3 Wastetime stacks at once grants an extra 12% DEF Ignore for 70s.
| Stars | Value 1 | Value 2 | Value 3 | Value 4 | Value 5 |
|---|---|---|---|---|---|
| ★ | 16% | 24% | 8% | 12% | 70 |
| ★★ | 20% | 30% | 10% | 15% | 70 |
| ★★★ | 24% | 36% | 12% | 18% | 70 |
| ★★★★ | 28% | 42% | 14% | 21% | 70 |
| ★★★★★ | 32% | 48% | 16% | 24% | 70 |
Values follow the official per-star curve from game data. Each column is one effect slot.
Why This Arc Is Strong (or Weak)
Upgrade Priority
Community tier: S
This Arc sits in the top priority tier: it works well without needing element-specific team conditions, so materials spent here pay off across almost every fight and team you build.
Marching Beyond Time base stats
| Max level | ATK | CRIT Rate |
|---|---|---|
| 20 | 0 | 9.6% |
| 30 | 26 | 12% |
| 40 | 51 | 14.4% |
| 50 | 77 | 16.8% |
| 60 | 102 | 19.2% |
| 70 | 128 | 21.6% |
| 80 | 154 | 24% |
Level-1 values from client data (before gear).
Marching Beyond Time ascension materials
| Stage | Max level | Materials |
|---|---|---|
| 0 | 20 | — |
| 1 | 30 | Beginner Drama Core ×4 Lost Whispers ×4 Beetle Coin ×20,000 |
| 2 | 40 | Beginner Drama Core ×10 Lost Whispers ×10 Beetle Coin ×40,000 |
| 3 | 50 | Master Drama Core ×6 Obscure Whispers ×6 Beetle Coin ×60,000 |
| 4 | 60 | Master Drama Core ×12 Obscure Whispers ×12 Beetle Coin ×80,000 |
| 5 | 70 | Collector's Drama Core ×6 Paradoxical Whispers ×6 Beetle Coin ×100,000 |
| 6 | 80 | Collector's Drama Core ×12 Paradoxical Whispers ×12 Beetle Coin ×120,000 |
 Beginner Drama Core
 Lost Whispers
 Master Drama Core
 Obscure Whispers
 Collector's Drama Core
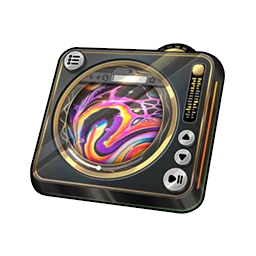 Paradoxical Whispers
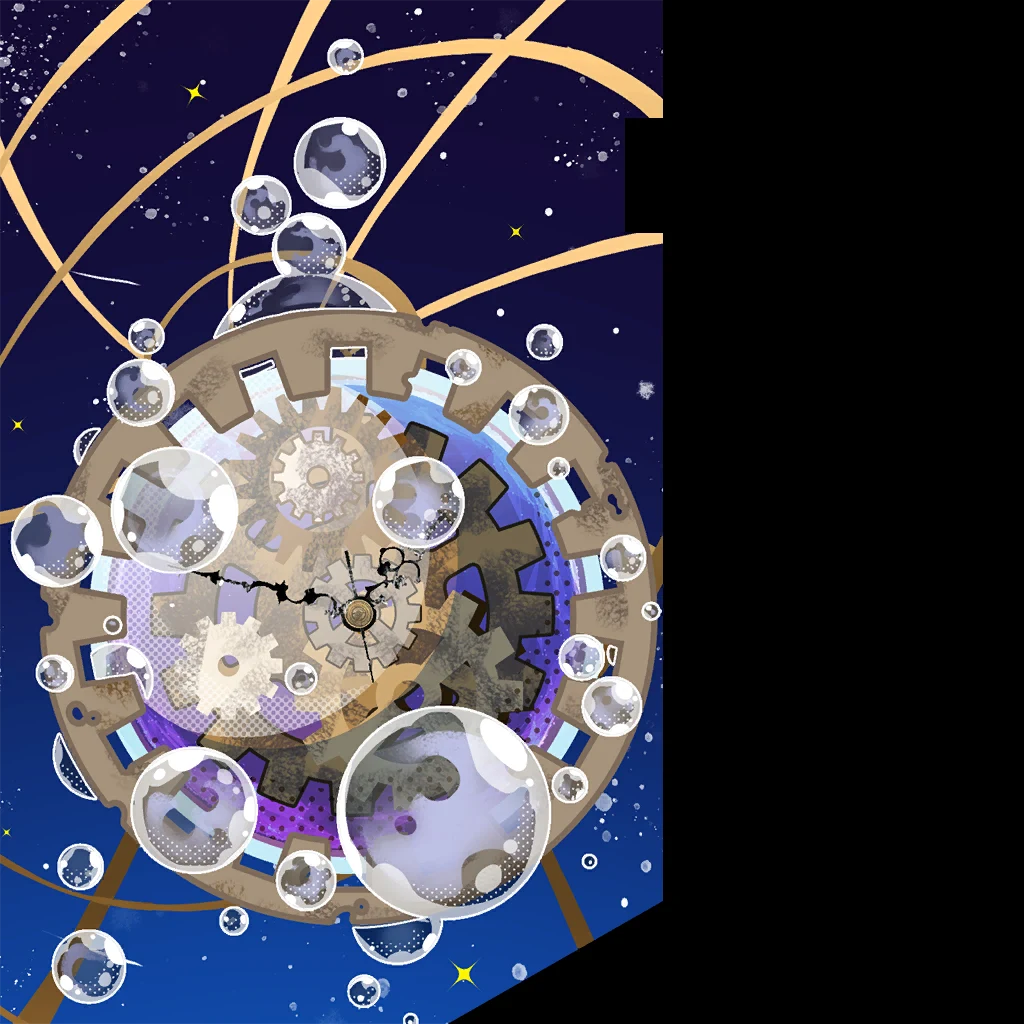
Card Art
Lore
We press on, lest we rust away to nothing.




 Arcs→
Arcs→
 Characters→
 Game mechanics wiki→