The five weapon types and who wields them
Every operator is locked to one weapon type — you cannot equip a Handcannon on a Sword user, full stop. The five types split cleanly along class lines:
| Weapon type | Typical wielder | Combat identity |
|---|---|---|
| Sword | Guard | Fast melee, physical damage, applies physical statuses |
| Greatsword | Defender | Slower swings, heavier stagger, some Arts access through skills |
| Polearm | Guard (skill-reliant kits) | Lighter reach weapon built around skill uptime rather than raw basic-attack DPS |
| Handcannon | Caster / Striker | Ranged, built for operators who trigger Arts Reactions |
| Arts Unit | Caster / Supporter | Drone-like ranged unit, leans on elemental damage and reaction uptime over basic attacks |
Because the type is fixed per operator, your first decision is never "which type is strongest" — it is always "what does the operator I'm building actually use." Plan weapon pulls around your roster, not the other way around.
Weapon skills: three slots, one job each
Every weapon carries up to three passive skills, and each slot has a distinct job:
- Skill 1 — generic attribute buff. A flat or percentage bump to a core stat like ATK, DEF, or Intellect. This is the most predictable slot and scales cleanly with rarity.
- Skill 2 — secondary stat buff. Usually Crit Rate, HP, or a specific damage type bonus (elemental DMG%, Physical DMG%). This is where weapons start to specialize toward a playstyle.
- Skill 3 — unique conditional effect. The signature slot. It fires under a specific trigger — after a Battle Skill hit, after applying a status with no existing stacks, after a critical hit — and grants something meaningful for a limited window. Reported examples include an ATK buff of roughly 33.6% for 20 seconds after a Battle Skill connects, a combined Crit Rate/ATK proc (about +8.4% Crit Rate baseline, +42% ATK for 15s after applying Vulnerability), and elemental-DMG procs that stack a flat bonus with a post-crit follow-up bonus.
3★ weapons do not have a Skill 3 at all — they stop at the attribute and secondary-stat buffs, which is the single biggest reason a 3★ starter falls off hard once you hit harder content. 4★ and up all carry the full three-skill kit, with the numbers on each skill scaling up with rarity and, later, with tuning and potential.
Leveling and tuning: the real cost from level 1 to 90
Weapon leveling costs Experience and T-Creds, and — unlike most systems in the game — the cost curve is identical across every rarity; a 3★ and a 6★ cost the same EXP and T-Creds to push through the same level. Reported cumulative totals from level 1:
| Level | Cumulative EXP | Cumulative T-Creds |
|---|---|---|
| 20 | 8,890 | 640 |
| 40 | 105,540 | 10,400 |
| 60 | 290,540 | 29,010 |
| 80 | 1,203,710 | 123,850 |
| 90 | 2,524,080 | 341,390 |
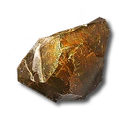
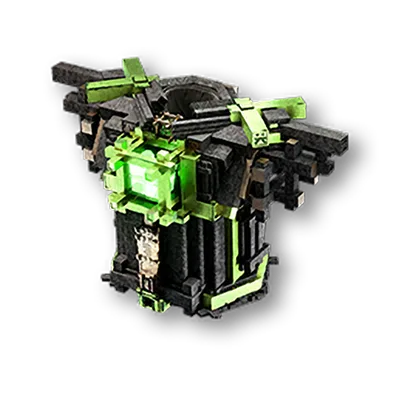
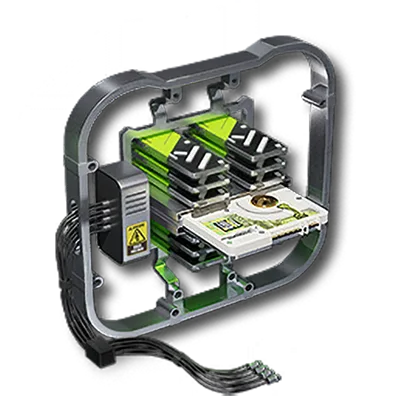
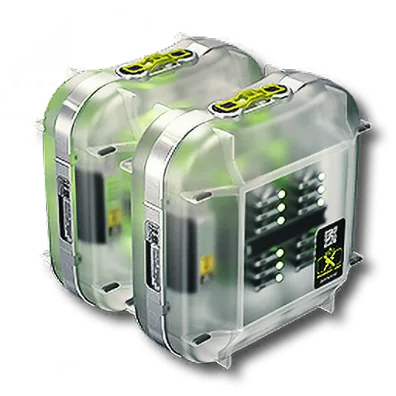
EXP comes from dedicated fodder items (an Arms Inspector gives 200, an Arms INSP Kit 1,000, an Arms INSP Set 10,000) or from feeding it spare weapons directly — a 3★ weapon is worth 500 EXP, 4★ is 1,500, 5★ is 10,000, and 6★ is 30,000. But leveling alone will not get you past level 20, 40, 60, or 80 — you hit a hard cap at each of those and need to tune the weapon to raise it. Reported tuning costs by stage:
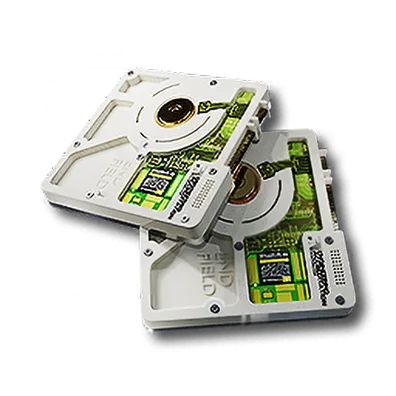 Arms Inspector
 Arms INSP Kit
 Arms INSP Set
| Stage | New level cap | Cast Die | Secondary material | T-Creds |
|---|---|---|---|---|
| 1 | 40 | 5 | 3x Kalkonyx | ~2,200 |
| 2 | 60 | 18 | 5x Auronyx | ~8,500 |
| 3 | 80 | 20 (Heavy) | 5x Umbronyx | ~25,000 |
| 4 | 90 | 30 (Heavy) | 16x rare progression material + 8x minerals | ~90,000 |
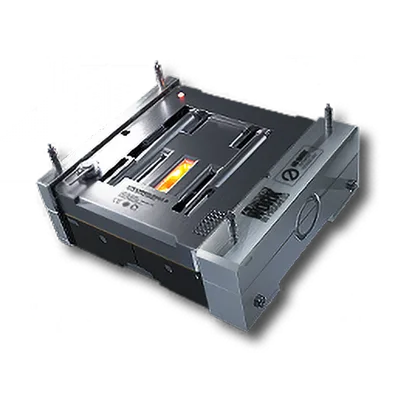 Cast Die
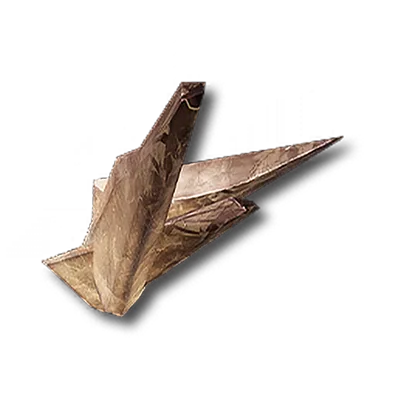 Kalkonyx
 Auronyx
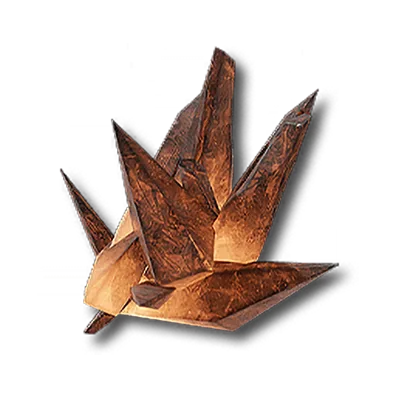 Umbronyx
Each tuning stage also raises the rank ceiling on Skill 1 and Skill 2, so tuning is not just a level-cap gate — it is part of how a weapon's passives get stronger over time.
Potential: what duplicates actually buy you
Potential is a separate track from level and tuning, running from Potential 0 up to Potential 5. Its entire job is to strengthen Skill 3 — every potential level raises that skill's base rank and its maximum rank by one, so a fully potential-maxed weapon takes Skill 3 from a rank ceiling of 4 up to 9. Skills 1 and 2 do not move from potential; only tuning stages touch those.
You raise potential by feeding the weapon a duplicate copy of itself, or by using a crafted "pattern" item tied to that weapon rather than a literal second drop. Because potential only affects the conditional Skill 3 — and because getting a second copy of a limited 6★ weapon usually means a second gacha pull — this is the weakest return-on-investment step in the whole system for anything but your actual main-carry weapon. Spend duplicates on the one weapon your best operator is actually using; do not blanket-feed potential into filler weapons, since the level/tuning gains from those duplicates are better captured just by using them as EXP fodder instead.
Best weapon by class
Rankings shift as new operators and weapon banners release, so treat the following as reported community consensus rather than fixed numbers — but the pattern (signature 6★ beats generic 6★ beats accessible 5★) holds consistently across every class:
| Class / type | Top-tier signature | Strong non-signature | Accessible 5★ |
|---|---|---|---|
| Guard — Sword | Forgeborn Scathe, Lupine Scarlet, Never Rest | Eminent Repute, Grand Vision, Rapid Ascent, Thermite Cutter | OBJ Edge of Lightness, Sundering Steel |
| Guard — Polearm | Mountain Bearer | JET, Valiant | Chimeric Justice, OBJ Razorhorn |
| Defender — Greatsword | Khravengger, Thunderberge | Exemplar, Former Finery, Sundered Prince | Seeker of a Dark Lung |
| Caster/Striker — Handcannon | Artzy Tyrannical, Brigand's Calling | Clannibal, Wedge | Opus: The Living |
| Caster/Supporter — Arts Unit | Delivery Guaranteed, Dreams of the Starry Beach | Detonation Unit | OBJ Arts Identifier |
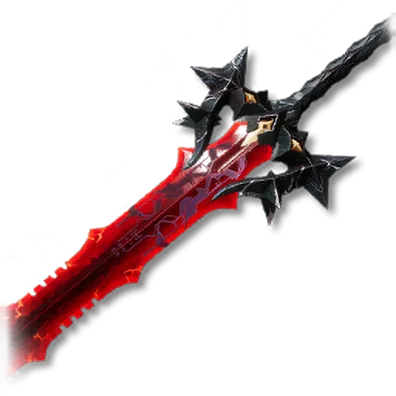 Forgeborn Scathe
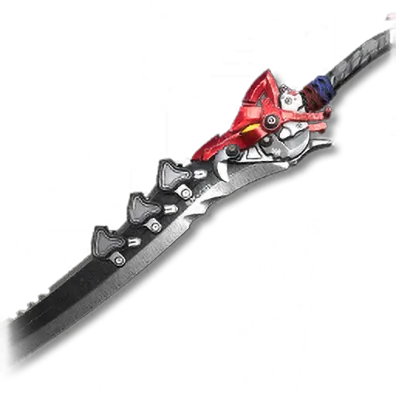 Lupine Scarlet
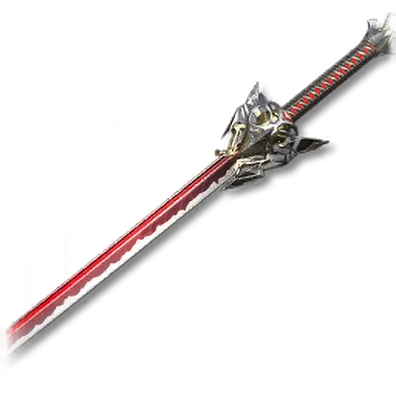 Never Rest
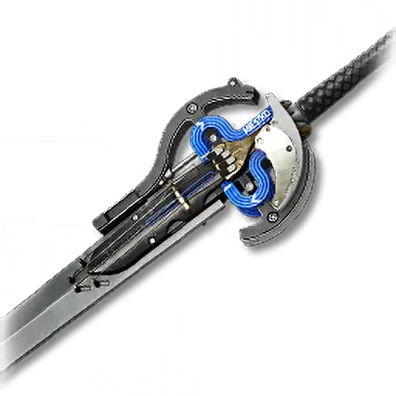 Eminent Repute
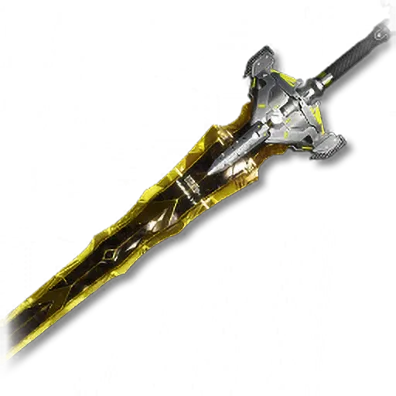 Grand Vision
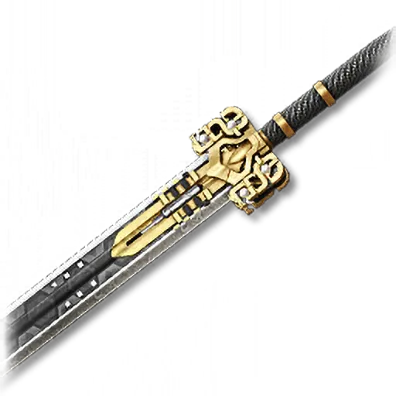 Rapid Ascent
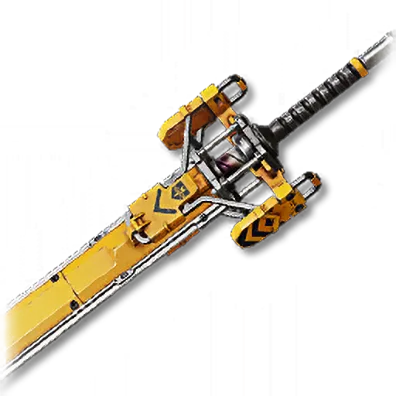 Thermite Cutter
The signature column is almost entirely 6★ weapons tied by name and Skill 3 design to a specific operator, meaning their conditional effect is written around that operator's rotation. The 5★ column is where a genuinely F2P-viable roster lives — none of those require a weapon-banner pull to reach a usable ceiling.
Getting weapons for free
Weapons do not require premium currency at all — the entire system runs on Arsenal Tickets and direct drops, both obtainable without spending:
- Automatic starter weapon. Every operator you recruit comes with a baseline 3★ weapon of their matching type, so no roster slot is ever completely unequipped.
- Milestone selectors. Reported free 6★ weapon selector boxes are granted after 40 total headhunt pulls and again around account/operator level 45, plus a selector holding a small fixed list of weapons through the Protocol Pass track.
- Arsenal Tickets as a pull byproduct. Every character-banner pull also drops Arsenal Tickets — reported at roughly 2,000 for a 6★ operator, 200 for a 5★, and 20 for a 4★ — on top of steady amounts from weekly missions. These tickets buy directly into the Arsenal Exchange shop's rotating and permanent stock, no gacha roll required.
- Endpoint Quota Exchange. Once a duplicate operator is already maxed out, the leftover duplicate currency converts into guaranteed weapon selections here — one of the most reliable non-gacha routes to a specific 6★.
- World drops and regional shops. Exploration chests hand out 4★ weapons directly while exploring, and region-specific Stock Redistribution shops sell select 5★ weapons for local currency instead of tickets.
The Arsenal Exchange gacha itself is reported to run 10-pull-only draws (no singles), guarantee a 5★ on every 10-pull, guarantee a 6★ by pull 40 with only a 25% chance it is the featured weapon, and only lock in the featured weapon after roughly eight total 6★ pulls (around 80 pulls) — and this pity does not carry to the next weapon banner. Given that, the efficient F2P move is to skip gambling on the weapon banner and instead bank tickets toward directly buying the specific standard 6★ you want once it rotates into the exchange shop.
Weapons vs characters: where to spend first
When Arsenal Tickets, materials, and premium currency are all limited, the spend order that consistently pays off is:
- Operator first. A strong operator's kit — their Battle Skill, talents, and elemental affinity — multiplies far more than any weapon passive can. Decide who your main damage dealer and core support actually are before committing anything to the weapon side.
- Signature weapon for the operator you've already committed to. Once an operator is locked in as a long-term carry, their signature weapon's Skill 3 is usually written specifically around their kit's trigger conditions, which is why it outperforms a generic 6★ of the same type by a wide margin.
- An enabling weapon for your core support next, not a second copy for your carry. A support weapon that buffs the whole team on cooldown frequently returns more overall damage than pushing your carry's own weapon further.
- Potential and duplicates last. Because potential only touches Skill 3's rank ceiling, it is the smallest marginal gain in the whole system — reserve it for the one weapon that's actually your endgame centerpiece.
Since leveling cost is identical across rarities, there is no penalty to leveling a filler 3★ or 4★ weapon early just to keep an operator functional — swap in the good weapon the moment you get it, then feed the old filler back in as EXP fodder rather than letting it sit unused.