The AIC Power Grid: How It Actually Works
Every AIC region runs on a shared power pool anchored by the Protocol Automation-Core (PAC) — the hub that handles facility placement, grid management, depot access, and doubles as your teleport point. Your starting capacity is 200 power, and it does not grow on its own; you have to build for it.
Power does not travel through belts. It broadcasts wirelessly from generation facilities through Electric Pylon and Relay Tower infrastructure to any facility inside range. None of the power-delivery facilities below consume power themselves — they only carry it.
| Facility | Role | Unlock / Cost |
|---|---|---|
| Electric Pylon | Wireless power broadcast to all facilities in its area of effect | Basic AIC Plan – Electricity I · 5 Originium Ore |
| Relay Tower | Extends grid range between pylon clusters | Later Basic AIC tier |
| Xiranite Pylon / Xiranite Relay | Upgraded versions of the above with longer reach | Later AIC tier |
| Thermal Bank | The only facility that actually generates power | Basic AIC Plan – Basic AIC I – Power I · 10 Origocrust + 10 Amethyst Parts |
 Originium Ore
 Xiranite
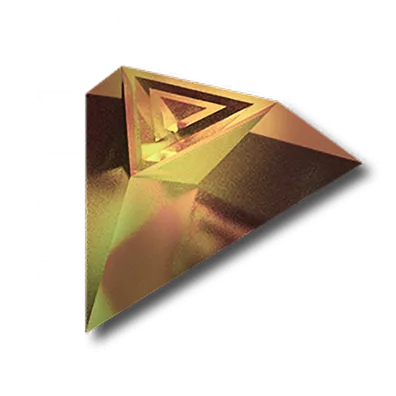 Origocrust
Actionable step: research whichever tech grants the Electric Pylon's extended transmission (30 meters, confirmed) before you spread your factory out. Placing pylons on that 30m grid from day one means you almost never have to rewire later when you add facilities.
Reactor Priority: Reaction vs. Output — What the Community Keeps Asking (Solved With Math)
This is the single most-searched pain point in AIC, and most guides answer the wrong question because Endfield uses "reactor" for two unrelated facilities:
- Reactor Crucible — a Production II facility (rarity 3, 50 power to operate, unlocked via Wuling AIC Plan – Wuling AIC I – Liquid Reaction, 20 Ferrium Parts) that runs solid/liquid chemical reactions like Xiranite + Clean Water → Liquid Xiranite. It is a mid-game crafting station. It does not generate power. Do not deprioritize it thinking it's part of your grid triage — it's irrelevant to blackouts.
- Thermal Bank — the actual power reactor. This is what people mean when they ask about "reactor priority."
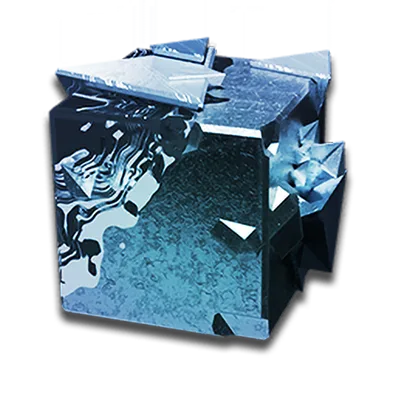 Ferrium
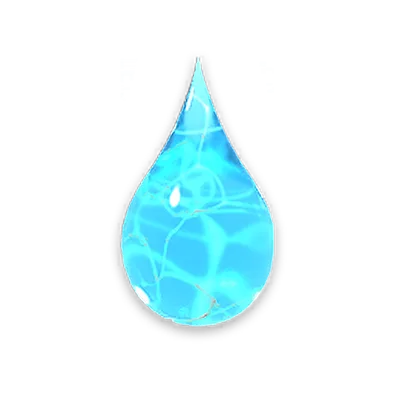 Clean Water
 Liquid Xiranite
The real decision is which fuel to feed your Thermal Banks: burn raw Originium Ore directly (the "reaction" path) or route that same ore through a production line into batteries first (the "output" path). Here is the full fuel table, taken directly from the Thermal Bank's facility data:
| Fuel | Consumption | Cycle | Power generated |
|---|---|---|---|
| Originium Ore | 7.5/min | 8s | 50 |
| LC Valley Battery | 1.5/min | 40s | 220 |
| SC Valley Battery | 1.5/min | 40s | 420 |
| HC Valley Battery | 1.5/min | 40s | 1,100 |
| LC Wuling Battery | 1.5/min | 40s | 1,600 |
| SC Wuling Battery | 1.5/min | 40s | 3,200 |
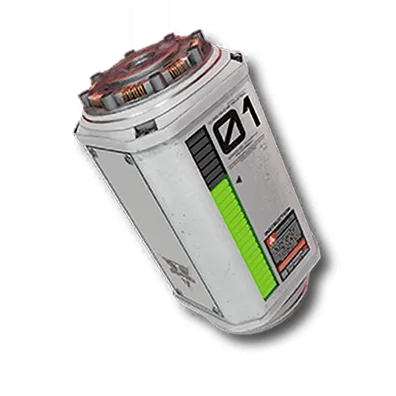 LC Valley Battery
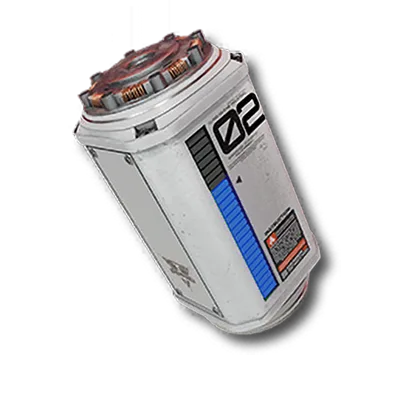 SC Valley Battery
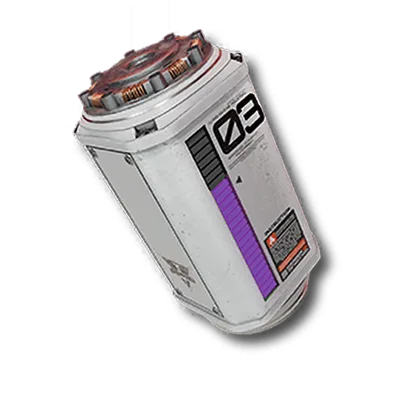 HC Valley Battery
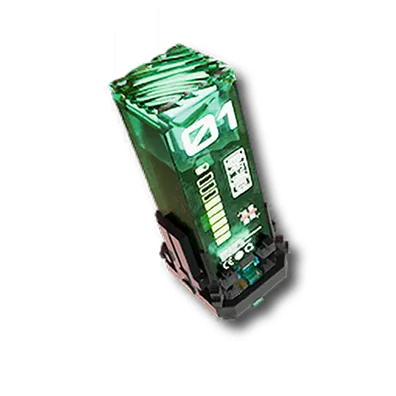 LC Wuling Battery
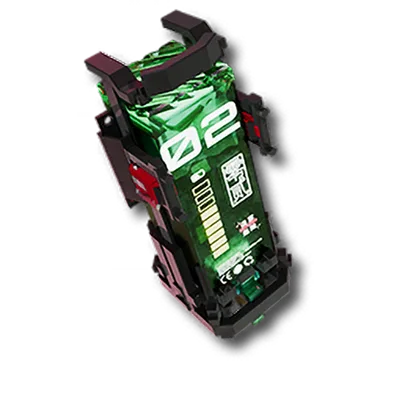 SC Wuling Battery
The math that settles the debate: a bank on raw ore consumes one ore every 8 seconds to sustain 50 power — that's roughly 10 power per ore burned. An LC Valley Battery (reported crafting cost: 10 Originium Ore per battery) sustains 220 power for 40 seconds from a single battery, which works out to about 22 power per ore spent — over twice as efficient as burning ore raw. The gap widens further up the chain with SC and HC batteries.
- Hour one: feed Thermal Banks raw Originium Ore. You have no Packaging Unit yet, so ore is your only option — this is fine, it's meant to be temporary.
- As soon as a Packaging Unit is unlocked: redirect that ore into an LC Valley Battery line instead of burning it. Do not keep both paths running long-term — every ore burned raw is ore you're not converting at 2x-plus efficiency.
- Once SC/HC Valley Battery chains are online: retire the LC line for your main banks and reserve LC batteries only for your emergency backup bank (see next section).
How Cascading Power Failures Start (And 3 Rules to Kill Them Before They Start)
The failure pattern reported consistently by players: your battery production line (Shredding Units, Fitting Units, Packaging Units) is itself powered by the same grid it feeds. If total consumption creeps above generation even briefly, the battery line is one of the things that stalls — which means no new batteries reach your Thermal Banks — which means the banks run dry — which means the facilities that were keeping the battery line running lose power too. The whole base goes dark in a chain reaction, and because everything died at once, there's no obvious single cause to point at when you come back to check on it.
Three rules that prevent it:
- Keep one Thermal Bank completely outside the loop. Feed it from a dedicated Originium Ore miner that isn't connected to anything else. If your battery pipeline ever collapses, this bank still runs on raw ore and gives you enough power to manually restart the rest by hand instead of rebuilding from zero.
- Never let your battery-crafting chain's own power draw eat your safety margin. Before adding a new Shredding/Fitting/Packaging Unit, check that your current surplus (generation minus consumption) can absorb it. If margin goes to zero, you're one hiccup away from a cascade.
- Never dump the output of a single battery-packaging line into just one Thermal Bank. Each bank only pulls one battery every 40 seconds — if your line produces faster than that, output backs up the belt and stalls the whole production chain behind it. Use a Splitter to round-robin batteries across several banks.
If you already blacked out, recovery checklist (community-reported staged approach):
- Remove — don't just disable — any Protocol Stashes; they draw power continuously and switching them off does not stop the drain.
- Get one Thermal Bank running on raw ore first; it ramps slowly but won't spike consumption further.
- Once power is climbing, reactivate mining facilities gradually rather than all at once.
- Bring battery production back online in stages (LC before SC before HC) so each tier's draw is absorbed before adding the next.
Efficient Production Line Layout: Build in Modules, Not One Mega-Factory
The layout mistake that causes most of the debugging pain above: one sprawling factory where power, ore processing, and battery crafting are all interleaved. When something jams, you can't isolate it. Build in self-contained modules instead — a power module, an ore-refining module, a battery module — each with its own belts and, ideally, its own local power feed off the shared grid.
A layout split that scales well: designate one PAC region purely for power generation (Thermal Banks + their ore/battery feed) and a separate Main PAC for manufacturing everything else. The power region only has to satisfy its own miners and packaging units; it isn't fighting for grid priority against your gear-crafting lines.
When a facility stops working, check in this exact order — it matches how failures actually cascade, so it finds the root cause fastest:
- Power connection — select the dead facility and confirm it's actually receiving power. If it isn't, this is the whole problem; skip the rest.
- Depot storage — if the output depot for that item is full, the belt backs up and the facility halts even though it has power. Upgrade the Depot Node.
- Belt continuity — facilities can look connected but not actually be delivering; reconnect the belt and confirm the facility icon turns solid/white.
- Grid-wide blackout — if multiple unrelated facilities died at once, it's not a local fault, it's the cascade from section 3. Go straight to the recovery checklist above instead of debugging individual machines.
Early on, before you unlock automation at the Originium Science Park, expect to manually load and collect at each stage — don't over-build a line you have to babysit by hand; keep early modules small.
Thermal Bank Placement: Unlock Order, Cost, and Splitter Setup
Thermal Bank is rarity 2, requires Basic AIC Plan – Basic AIC I – Power I, and costs 10 Origocrust + 10 Amethyst Parts to build. You're given one for free; every additional unit has to be produced.
| Placement rule | Why |
|---|---|
| Cluster banks next to whichever fuel line feeds them, not next to the facilities they power | Power travels wirelessly through pylons regardless of distance to consumers, but fuel travels by belt — minimize belt length instead |
| Always place a Splitter before the final belt run into a multi-bank cluster | A single bank only consumes 1 battery per 40-second cycle; without a splitter, excess output jams the belt instead of reaching idle banks |
| Keep your one backup bank physically separate from the main cluster | If the main cluster's fuel line clogs or the area loses connectivity, the backup must stay reachable to restart everything else |
Build order:
- Place your first 1-2 Thermal Banks on raw ore near your starting miner.
- The moment you unlock Power I, queue Origocrust + Amethyst Parts production specifically to build 2-3 more banks — don't wait until you're already short on power to start this.
- Add a Splitter as soon as you have 2+ banks sharing one battery line.
- Reserve one bank permanently on the dedicated backup ore miner from section 3, and never route its fuel through anything shared.
What to Automate First: The Priority Order
You cannot automate everything on day one, and trying to is how bases end up half-built and fragile. Build automation in this order:
- Amethyst Parts production — Ore to Fiber to Parts via Shredding/Fitting Units. This feeds both your Thermal Bank construction and your early battery chain, so it pays off twice.
- LC Valley Battery line — the moment Packaging Units are available, per section 2's efficiency math. This is your first real power upgrade.
- Depot Node upgrades — raise storage caps before you scale production further; a full depot silently halts belts and is the most common false alarm in troubleshooting.
- SC / HC Valley Battery lines — only after your LC line and backup bank are stable. Each tier adds its own power draw (LC/SC/HC battery crafting all consume grid power to run), so don't chain them all at once.
- Reactor Crucible chemical lines (Xiranite, Cuprium, Hetonite solutions, etc.) — this is a Production II facility for crafting materials, not a power concern; automate it once your power base is stable, not before.
Do not automate Protocol Stashes as a storage shortcut — they draw power continuously with no off switch, and every one you place is a small permanent drain against your margin.
Blueprint Tips: Build Once, Deploy Every Region
Blueprints let you stamp out a proven module instead of re-wiring it by hand every time you expand. Workflow:
- Enter AIC Mode (default key Q on PC, R3 on controller).
- Switch to Top View to get the grid overlay — placement is far more precise here than in normal camera.
- Press F1 to open the Blueprint menu.
- To import: open the Shared Blueprints tab and paste the code exactly, with no extra spaces or line breaks. It auto-snaps to a valid area as long as you already have the facilities unlocked.
- Make sure you're actually carrying the raw materials the blueprint needs — it will not place if you're short, even if the layout fits.
Two things that trip people up:
- Codes are region-locked. NA/EU and Asia servers use separate code sets — a code from the wrong region will not import.
- Imported blueprints are fully editable. Place it, re-enter build mode, and tweak belts or swap machines; save your edit as a new blueprint rather than overwriting a working one.
Build a personal blueprint library instead of one giant base blueprint: save separate blueprints per module — one for a Thermal Bank + Splitter power cluster, one for the Amethyst refining chain, one for the LC battery packaging line, one for the Reactor Crucible cell. Modular blueprints drop into any new region cleanly; a single mega-blueprint usually doesn't fit the next area's terrain and forces you to rebuild anyway.