Recommended lineups & decks
The strongest skill card and P-item sets for each P-idol, with the reasoning behind each pairing.
No more guessing at combos: each recommended set spells out the core P-idol, core cards and P-items to prioritize, so you optimize your Produce run fast.
Deck-Building Rules by Plan
Each plan only feeds on one pair of effects. Picking cards or P-items outside that pair is a wasted slot in your deck.
Burst scoring: keep 好調 Good Condition up to multiply your score %, then stack 集中 Concentration so every card played adds more. Prioritise cards that extend Good Condition first, big scoring cards second.
Snowball: 好印象 Good Impression scores passively every turn, while やる気 Motivation feeds genki so you stop bleeding stamina. The earlier you build both, the more turns they pay out.
The newest plan, running on its own state axis (Full Power / Strength / Enthusiasm). The mechanics are still recent, so stick to the signature effect printed on the P-idol page rather than importing Sense or Logic combos.
FREE cards work in any plan — that is the only place you may build off-axis.
Each P-idol’s Signature Set
Every P-idol ships with skill cards and P-items hard-linked to it — that is the mandatory core of the loadout, everything else just amplifies it. The list below is pulled straight from the signature linkage in the game data, sorted by machine-computed signature power (contest power).
Sense

 Big Sister's Instinct
 Big Sister's Instinct+
 Natural Charm
 Natural Charm+
 Radiance I Always Admired
 Radiance I Always Admired+
 Memory That's Only Mine
 Memory That's Only Mine+
 Dream You Gave Me
 Dream You Gave Me+
 Radiance That Bet Everything
 Radiance That Bet Everything+
 Until Morning Fills the Sky
 Until Morning Fills the Sky+
 Star in the Darkness
 Star in the Darkness+
 Self-Esteem Skyrocketing↑↑
 Self-Esteem Skyrocketing↑↑+
 Wuv-Wuv Heart
 Wuv-Wuv Heart+
 Give It All You've Got♪
 Give It All You've Got♪+
 Go, Go, Me!
 Go, Go, Me!+
 First Star Loved by All
 World's Greatest Courage
 World's Greatest Courage+
 Feelings I Want to Deliver
 Feelings I Want to Deliver+
 First Star Shining on Stage
 In the World I Found
 In the World I Found+
 Dashing Prince, Dripping Wet
 Dashing Prince, Dripping Wet+
 Birth of a Dark Hero
 Birth of a Dark Hero+
 Hero I Admired Back Then
 Hero I Admired Back Then+
Logic

 First Star That Brings Smiles
 Feverish Nostalgia
 Feverish Nostalgia+
 Feverish Nostalgia♡
 Feverish Nostalgia♡+
 I Want to Be an Idol
 I Want to Be an Idol+
 Way Too Cool Idol
 Way Too Cool Idol+
 Blazing Blue Flame
 Blazing Blue Flame+
 Radiance Beyond the Sun
 Radiance Beyond the Sun+
 Words That Hold Me Up
 Words That Hold Me Up+
 Until I Reach My Ideal
 Until I Reach My Ideal+
 Radiance of Strong Will
 Radiance of Strong Will+
 Future I Seized
 Future I Seized+
 Star in Full Bloom
 Star in Full Bloom+
 Dramatic Holiday
 Dramatic Holiday+
 Miracle Head
 Miracle Head+
 Ultimate Photogenic Look♪
 Ultimate Photogenic Look♪+
 Share-Happy Can Badge
 Share-Happy Can Badge+
 Straight to the Sky
 Straight to the Sky+
 Jump High!
 Jump High!+
 I Never Will
 I Never Will+
 The Me Who Deserves It
 The Me Who Deserves It+
Anomaly

 First Star That Made a Miracle
 Toward the Sunlight
 Toward the Sunlight+
 Ticket Back to the Start
 Ticket Back to the Start+
 Long-Awaited Moment
 Long-Awaited Moment+
 Dreaming Star
 Dreaming Star+
 Decorate Magic
 Decorate Magic+
 Takoyaki Techno Dog
 Takoyaki Techno Dog+
 Stay Gritty!
 Stay Gritty!+
 Jumbled Passion
 Jumbled Passion+
 Rock-Paper-Scissors Pop
 Rock-Paper-Scissors Pop+
 Rendezvous with Earth!
 Rendezvous with Earth!+
 First Star That Delivers Courage
 Overflowing Feelings
 Overflowing Feelings+
 Promise We Made
 Promise We Made+
 First Star Soaring Higher
 The Me Left Behind
 The Me Left Behind+
 Beginning of Admiration
 Beginning of Admiration+
 Dance Like Mad!
 Dance Like Mad!+
 Invitation to Utopia
 Invitation to Utopia+
Building the Support Card Lineup (編成)
Support cards are attached BEFORE the produce run, and each card boosts exactly ONE lesson type. Look at the stat your P-idol is short on (Vocal / Dance / Visual) and fill it with support of that same type; Assist cards are the general-purpose slot — filler, not the main axis.
Boosts Vocal lessons — take these when your P-idol needs Vocal for the exam.
 What Am I Even Doing,
 These Guys Are So Annoying~
 By the Next Cherry Blossom Season.
 Cute Plus Cute Equals Cute!
 Pushing Yourself Too Hard Again
 Oh, What a Coincidence
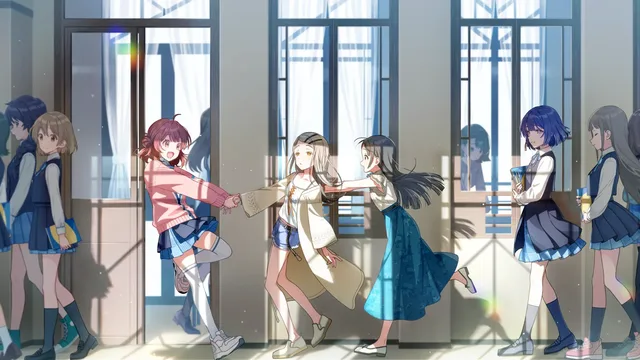 Not a Single One Missing
 Please, Don't Let the Curtain Rise Yet!
Boosts Dance lessons — take these when Dance is the missing stat.
 Grrrrrrr...!
 I'll Take That Delicious Face~!
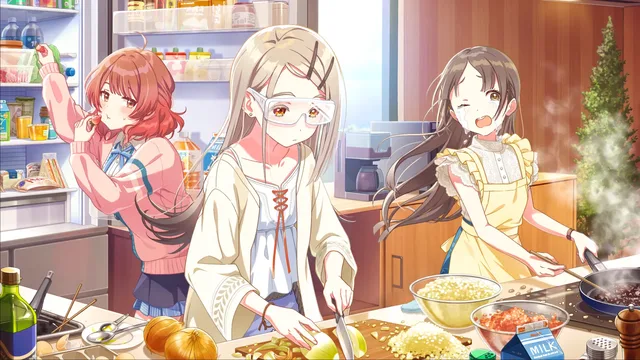 We Can Do It If We Try
 No Way.
 Come On, Let's Hold It Together♪
 It Cleared Up
 Geez! That's So Cold!
 I'm Going to Savor Summer!
Boosts Visual lessons — take these when Visual is the missing stat.
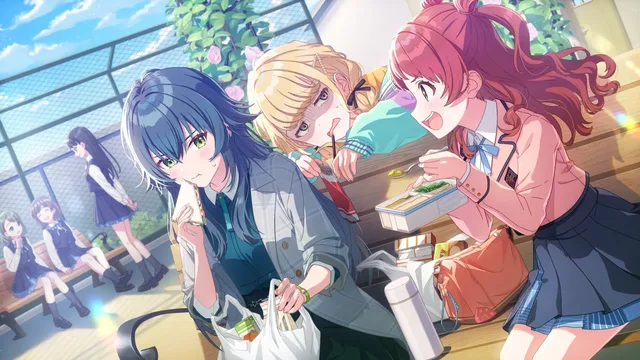 I'll Make One for You Too!
 Leave It to Your Big Sister!
 Good Work, China.
 Just Like a Prince
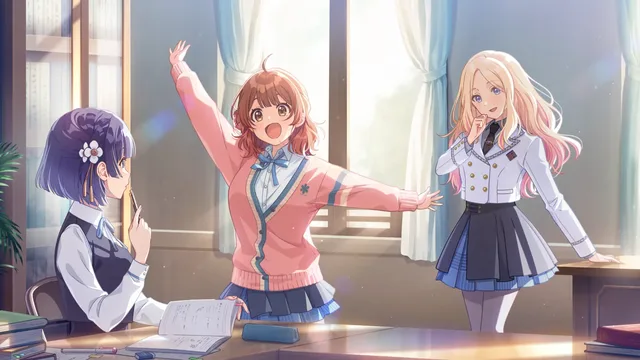 My Eyes Never Deceive Me
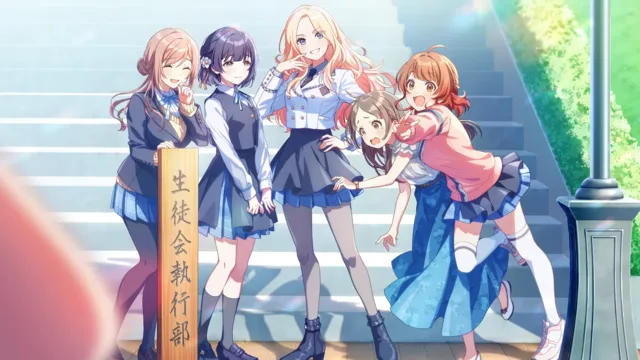 Approach It Like It's Work
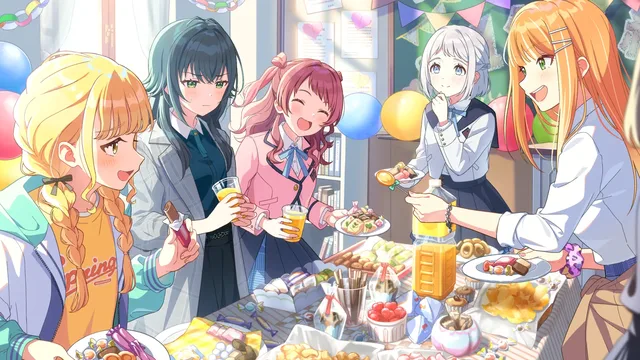 The 2nd Classroom Party!
 Samidare
General support (not locked to one stat) — use it to fill leftover slots.
 You're a Student I'm Proud Of
 It's the Season for a Big Appetite
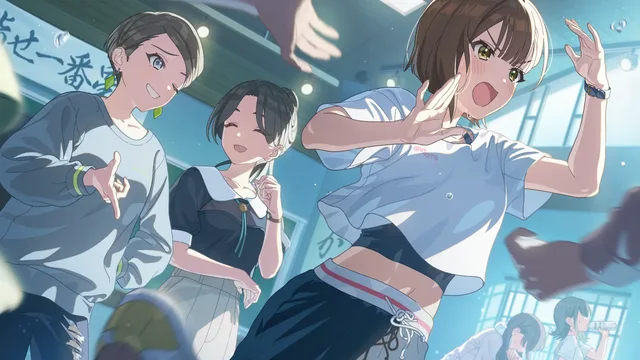 We're Growing Too!
A Gakumas Loadout Has 3 Layers
Layer 1 is your SKILL CARD deck — not picked in advance, but gathered gradually inside a produce run through lessons and events, mixing default/produce/pIdol/support-sourced cards. Layer 2 is the P-ITEM, a PASSIVE piece of gear that triggers on a condition (start of turn, playing a certain card type...) and carries an activation limit. Layer 3 is the SUPPORT CARD, which must already be attached BEFORE you enter produce, matching the training direction you picked.
- These 3 layers aren't independent — they all need to push toward the same signature effect (recommendedEffect) of the P-idol you're raising.
- The P-idol's signature P-item is usually the centerpiece, with skill cards and support cards built to amplify that same effect rather than each layer pulling a different way.
- Misaligning the layers — say, a P-item that pushes Concentration while the support card leans hard into Motivation — is the most common reason a loadout looks strong on paper but scores nothing.
Rule One: Everything Has to Match the Plan
SENSE is built around 好調 Good Condition (a % score boost while it's active) and 集中 Concentration (score that stacks with each card played) — leaning toward burst scoring in a few turns. LOGIC is built around 好印象 Good Impression (passive score every turn) and やる気 Motivation (raises genki/元気) — leaning toward steady, snowballing gains across many turns. ANOMALY is a newer plan with its own separate axis; it's recent enough that you should only treat it at a general level rather than trusting detailed combos for it.
- Skill cards, P-items, and support cards each lock to one specific plan (except FREE cards, which work in any plan) — slotting the wrong plan means a dead slot, one that doesn't synergize with anything else in the loadout.
- Before picking up any card or P-item during produce, always ask whether it pushes the exact axis your P-idol needs — Good Condition/Concentration for Sense, or Good Impression/Motivation for Logic.
- The strongest loadout is the one with the fewest off-plan pieces, not the one with the rarest pieces.
Rule Two: A Thin Deck Beats a Thick One
The more cards you stuff into your deck, the lower your odds of drawing the exact card you need on the exact turn you need it — a strong ACTIVE card sitting inert among 20 useless ones is as good as not owning it. Worse, TROUBLE cards (bad cards forced into your deck by certain events/effects) surface more often as the deck grows thicker, because the good cards get diluted across a bigger pool.
- Prioritize keeping ACTIVE cards that actually fit your plan, and skip extra cards whenever produce offers a choice — thinner and focused almost always beats thick and mixed.
- ACTIVE cards cost stamina to play, while MENTAL cards recover stamina or grant buffs — balance the two to the game's rhythm: enough MENTAL to survive to the midterm exam without burning too many recovery turns, enough ACTIVE to close out the final exam with points.
- Managing stamina across the whole produce run matters as much as card count — running out mid-run forces a rest, costing a turn you'd otherwise spend picking up cards or training.
Support Cards: Lv25 Is the Milestone That Matters
Support cards split across 3 stats — Vocal / Dance / Visual — with rarities SSR / SR / R. You get them from gacha (shared banner with P-idols), by trading contest coins, or from free giveaways. The milestone that matters most isn't rarity, it's LEVEL: leveling one card to Lv25 unlocks its ABILITY — below Lv25, that card is contributing little more than raw stats.
- Pouring level-up resources into one card to hit Lv25 beats spreading them thin across several half-leveled cards — one card with its ability unlocked usually outperforms several half-finished ones combined.
- Attach support cards that match your chosen training direction — leaning Vocal, Dance, or Visual — rather than defaulting to whichever card is rarest; an SR already at Lv25 in the right direction usually beats an unleveled, off-direction SSR.
- Contest coins are a reliable way to target the exact card you need instead of leaving it entirely to gacha luck.
Contest Loadouts Score Differently
CONTEST is an asynchronous PvP mode — you fight with a MEMORY (a saved record of an idol that finished produce), while the opponent is an AI simulation of another player's team, not someone playing live. Because of that, contest loadouts get scored by a fixed formula, not by a gut feeling of "higher stats means stronger":
Contest power = 3×(Vocal + Dance + Visual) + 24×Stamina + P-item power + card power + 36×number of customs.
The coefficients say it plainly: 1 point of Stamina is worth 24 power, while 1 point of stat (Vocal/Dance/Visual) is only worth 3. Undervaluing Stamina when building a contest memory is the most common mistake — a memory loaded with stats but short on Stamina is usually much weaker than a balanced one.
| P-item power | |
|---|---|
| pIdol R | 150 (240 when leveled up) |
| SR | 225 / 300 |
| SSR | 300 / 420 |
| support SR | 135 |
| support SSR | 180 (free giveaway 159) |
| card power | |
|---|---|
| pIdol | 3 (15 when leveled up) |
| support | 96 / 126 |
| produce R | 30–60 |
| produce SR | 75–141 |
| produce SSR | 150 / 204 |
Loadouts don't carry over cleanly either: inside the H.I.F編 chapter, shared Legend cards (the type usable across multiple chapters) simply can't be used, so the power balance between the 3 plans flips compared to the base chapter — a loadout that dominated the regular chapter can drop noticeably once ported straight into H.I.F編 without recalculating.