Recipes: สูตรคราฟต์บลูปรินต์ AIC
Endfield ไม่มีเมนูคราฟต์แบบดั้งเดิม — แต่คุณนำบลูปรินต์ไปวางใน Core AIC Area แล้วป้อน input ที่ระบุไว้ จากนั้นสิ่งอำนวยความสะดวกจะผลิต output ให้อัตโนมัติตลอดไป หน้านี้อ่านคู่ input/output จริงจากบลูปรินต์ทั้ง 42 รายการในข้อมูลเกม ให้คุณเช็กได้ว่าสูตรต้องการอะไรก่อนสร้างจริง
สูตรตามหมวด
ควรทำให้สูตรไหนอัตโนมัติก่อน
ดึงจากลำดับความสำคัญการทำอัตโนมัติในคู่มือ AIC Factory — ใช้ตรรกะเดียวกันกับการเลือกบลูปรินต์
คุณทำระบบอัตโนมัติให้ทุกอย่างพร้อมกันตั้งแต่วันแรกไม่ได้ และการพยายามทำแบบนั้นคือสาเหตุที่ฐานสร้างไม่เสร็จครึ่งๆ กลางๆ แล้วก็เปราะบาง ให้สร้างระบบอัตโนมัติตามลำดับนี้:
- สายผลิต Amethyst Parts — จากแร่ไปเป็นไฟเบอร์แล้วเป็นชิ้นส่วน ผ่าน Shredding/Fitting Unit สายนี้ป้อนทั้งการสร้าง Thermal Bank และสายแบตเตอรี่ช่วงต้น จึงคุ้มค่าสองต่อ
- สายผลิต LC Valley Battery — ทันทีที่มี Packaging Unit ตามหลักคำนวณประสิทธิภาพในหัวข้อที่ 2 นี่คืออัปเกรดพลังงานตัวจริงตัวแรกของคุณ
- อัปเกรด Depot Node — เพิ่มความจุคลังก่อนจะขยายการผลิตต่อไป เพราะคลังที่เต็มจะหยุดสายพานแบบเงียบๆ และเป็นสาเหตุปลอมที่พบบ่อยที่สุดตอนไล่หาปัญหา
- สาย SC / HC Valley Battery — ทำหลังจากสาย LC และธนาคารสำรองเสถียรแล้วเท่านั้น แต่ละระดับเพิ่มภาระการใช้ไฟของตัวเอง (การคราฟต์แบตเตอรี่ LC/SC/HC ล้วนกินไฟจากโครงข่ายในการทำงาน) จึงอย่าต่อสายทั้งหมดพร้อมกัน
- สายเคมีของ Reactor Crucible (สารละลาย Xiranite, Cuprium, Hetonite ฯลฯ) — นี่คือสิ่งปลูกสร้าง Production II สำหรับคราฟต์วัตถุดิบ ไม่เกี่ยวกับเรื่องไฟ ให้ทำระบบอัตโนมัติเมื่อฐานไฟของคุณเสถียรแล้ว ไม่ใช่ก่อนหน้านั้น
อย่าทำ Protocol Stash เป็นระบบอัตโนมัติเพื่อลัดขั้นตอนเก็บของ เพราะมันดึงไฟตลอดเวลาโดยไม่มีสวิตช์ปิด และทุกตัวที่คุณวางเพิ่มคือการดึงส่วนต่างความปลอดภัยของคุณไปทีละนิดอย่างถาวร
ข้อผิดพลาดที่พบบ่อย
ข้อผิดพลาดพลังงานไหลต่อกันแบบเดียวกับที่ทำลายผังฐาน ก็ทำลายห่วงโซ่สูตรที่พึ่งพาพลังงานนั้นด้วย
รูปแบบความล้มเหลวที่ผู้เล่นรายงานตรงกันคือ สายการผลิตแบตเตอรี่ของคุณ (Shredding Unit, Fitting Unit, Packaging Unit) ใช้ไฟจากโครงข่ายเดียวกับที่มันป้อนไฟให้ ถ้าการใช้พลังงานรวมสูงกว่าการผลิตแม้เพียงชั่วครู่ สายผลิตแบตเตอรี่จะเป็นหนึ่งในสิ่งแรกที่หยุดทำงาน หมายความว่าแบตเตอรี่ใหม่จะไม่ถูกส่งไปถึง Thermal Bank ธนาคารก็จะไฟหมด และสิ่งปลูกสร้างที่คอยหล่อเลี้ยงสายผลิตแบตเตอรี่ก็จะพลอยไฟดับตามไปด้วย ทั้งฐานจะดับพร้อมกันเป็นปฏิกิริยาลูกโซ่ และเพราะทุกอย่างตายพร้อมกันหมด เวลากลับมาเช็กจะไม่เห็นสาเหตุเดียวที่ชัดเจนให้ชี้นิ้วได้เลย
3 กฎที่ช่วยป้องกันปัญหานี้:
- เก็บ Thermal Bank หนึ่งตัวไว้นอกวงจรทั้งหมด ป้อนไฟให้มันด้วยเหมืองแร่ Originium Ore เฉพาะที่ไม่เชื่อมกับอะไรอื่นเลย ถ้าสายการผลิตแบตเตอรี่ล่มขึ้นมาเมื่อไหร่ ธนาคารตัวนี้จะยังทำงานด้วยแร่ดิบและให้ไฟพอสำหรับรีสตาร์ทส่วนที่เหลือด้วยมือ แทนที่จะต้องเริ่มสร้างใหม่จากศูนย์
- อย่าปล่อยให้การใช้ไฟของสายคราฟต์แบตเตอรี่กินส่วนต่างความปลอดภัยจนหมด ก่อนจะเพิ่ม Shredding/Fitting/Packaging Unit ตัวใหม่ ให้เช็กก่อนว่าส่วนต่างปัจจุบัน (พลังงานที่ผลิตลบด้วยที่ใช้) รองรับไหวหรือไม่ ถ้าส่วนต่างเหลือศูนย์ แปลว่าคุณห่างจากไฟดับลูกโซ่แค่เอื้อมเดียว
- อย่าปล่อยผลผลิตจากสายแพ็กแบตเตอรี่หนึ่งสายลงไปที่ Thermal Bank เพียงตัวเดียว ธนาคารแต่ละตัวดึงแบตเตอรี่ได้แค่ 1 ก้อนทุก 40 วินาที ถ้าสายผลิตของคุณผลิตเร็วกว่านั้น ผลผลิตจะกองค้างสายพานและทำให้สายการผลิตทั้งหมดที่อยู่ข้างหลังหยุดชะงักไปด้วย ให้ใช้ Splitter กระจายแบตเตอรี่ไปหลายธนาคารสลับกัน
ถ้าไฟดับไปแล้ว นี่คือขั้นตอนกู้คืน (แนวทางแบบเป็นลำดับที่ผู้เล่นรายงานร่วมกัน):
- ถอดออก — ไม่ใช่แค่ปิดการทำงาน — Protocol Stash ทุกตัว เพราะมันดึงไฟตลอดเวลา แค่ปิดสวิตช์ไม่ได้หยุดการดึงไฟ
- ให้ Thermal Bank หนึ่งตัวทำงานด้วยแร่ดิบก่อนเป็นอันดับแรก มันจะไต่ระดับช้าแต่จะไม่ทำให้การใช้ไฟพุ่งเพิ่มขึ้นอีก
- เมื่อพลังงานเริ่มไต่ขึ้น ให้ค่อยๆ เปิดสิ่งปลูกสร้างเหมืองแร่กลับมาทีละส่วน ไม่ใช่เปิดพร้อมกันทั้งหมด
- นำสายการผลิตแบตเตอรี่กลับมาเป็นขั้นบันได (LC ก่อน SC ก่อน HC) เพื่อให้แต่ละระดับถูกดูดซับก่อนที่จะเพิ่มระดับถัดไป
รายการสูตรทั้งหมด (42)
Place this blueprint in the Core AIC Area, then input Cuprium Ore , Clean Water and Precipitation Acid to auto-produce Hetonite Solution .
Place this blueprint in the Core AIC Area, then input Hetonite Solution and Ferrium Ore to auto-produce Hetonite Part .
Place this blueprint in the Core AIC Area, then input Hetonite Part and Heavy Xiranite to auto-produce Hetonite Components .
Place this blueprint in the Core AIC Area, then input Xiranite , Clean Water and Sewage to auto-produce Heavy Xiranite .
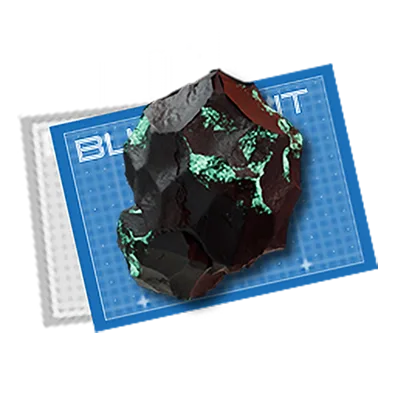
Place this blueprint in the Core AIC Area, then input Sewage , Xiranite and Ferrium Ore to auto-produce Xircon .
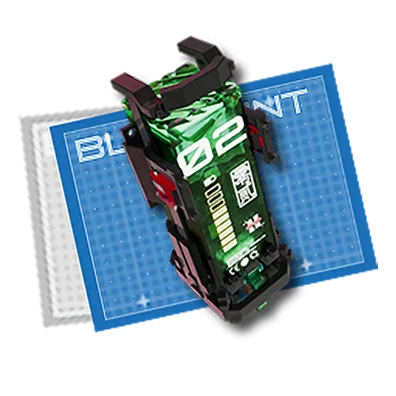
Place this blueprint in the Core AIC Area, then input Xircon and Dense Originium Powder to auto-produce SC Wuling Batteries .
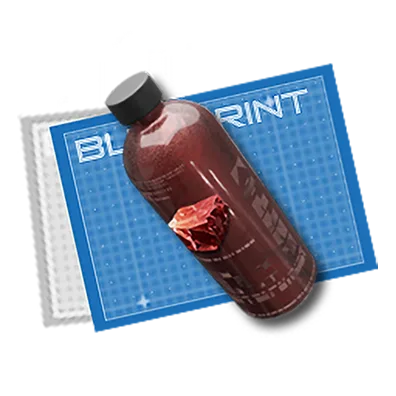
Place this blueprint in the Core AIC Area, then input Cuprium Ore and Clean Water to auto-produce Cuprium Bottles .
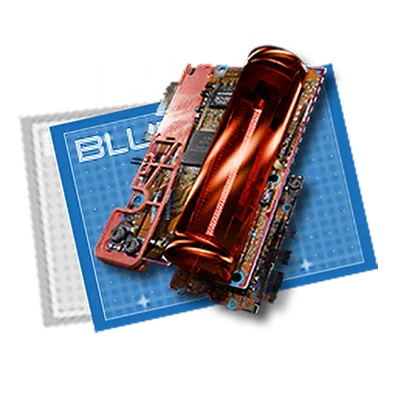
Place this blueprint in the Core AIC Area, then input Cuprium Ore and Clean Water to auto-produce Cuprium Parts .
Place this blueprint in the Core AIC Area, then input Cuprium Bottles and Yazhen Solution to auto-produce Yazhen Syringes [A] .
Place this blueprint in the Core AIC Area, then input Cuprium Parts and Xiranite to auto-produce Cuprium Components .
Place this blueprint in the Core AIC Area, then input Amethyst Ore and Originium Ore to auto-produce Amethyst Components .
Place this blueprint in the Core AIC Area, then input Amethyst Ore to auto-produce Amethyst Parts .
Place this blueprint in the Core AIC Area, then input Originium Ore to auto-produce Origocrusts .
Place this blueprint in the Core AIC Area, then input clean Water and 1 unit of any plant that can be processed at the Seed-Picking Unit and Planting Unit to auto-produce an endless amount of that plant .
Place this blueprint in the Core AIC Area, then input Ferrium Bottle and Jincao Solution to auto-produce Jincao Drink .
Place this blueprint in the Core AIC Area, then input Ferrium Bottles and Yazhen Solution to auto-produce Yazhen Syringes [C] .
Place this blueprint in the Core AIC Area, then input Yazhen and Clean Water to auto-produce Yazhen Solution .
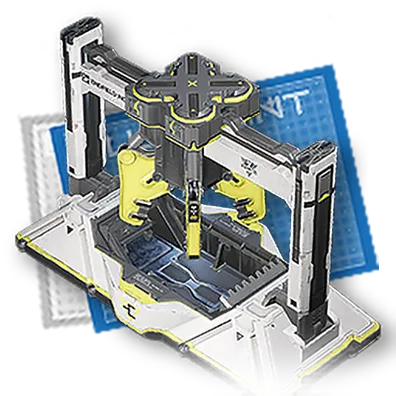
Place this blueprint in the Core AIC Area, then input bottles filled with a fluid to auto-produce empty bottles and that fluid .
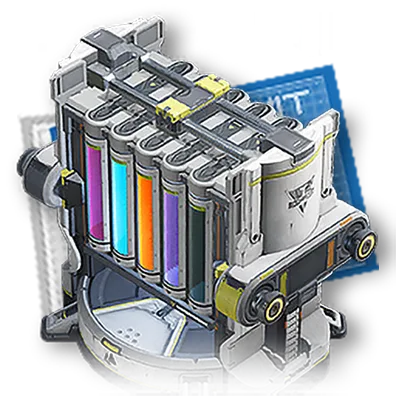
Place this blueprint in the Core AIC Area, then input soluable plants and Clean Water to auto-produce the solution of that plant .
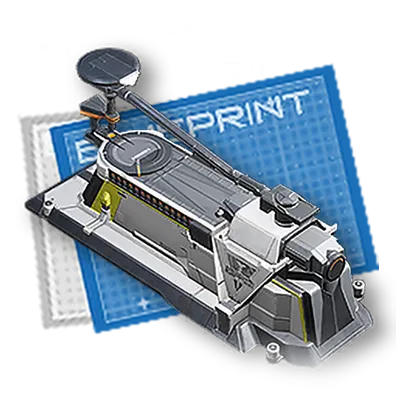
Place this blueprint in the Core AIC Area, then input Ferrium Bottle and any fluid to auto-produce Ferrium Bottles filled with that fluid .

Place this blueprint in the Core AIC Area, then input Clean Water , Carbon , and Sandleaves to auto-produce Xiranite .
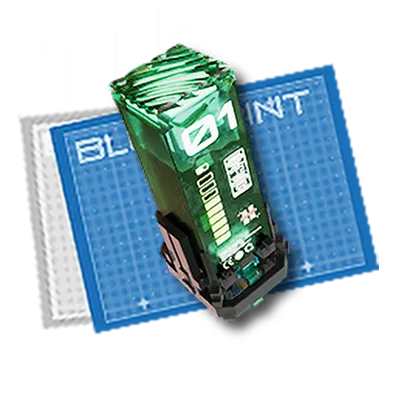
Place this blueprint in the Core AIC Area, then input Xiranite and Dense Originium Powder to auto-produce LC Wuling Batteries .
Place this blueprint in the Core AIC Area, then input Sandleaves and Originium Ore to auto-produce Dense Originium Powder .
Place this blueprint in the Core AIC Area, then input Sandleaves and Ferrium Ore to auto-produce Dense Ferrium Powder .
Place this blueprint in the Core AIC Area, then input Sandleaves and Buckflowers to auto-produce Ground Buckflower Powder .
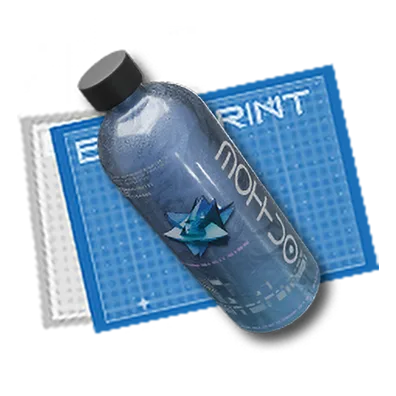
Place this blueprint in the Core AIC Area, then input Dense Ferrium Powder to auto-produce Steel Bottles .
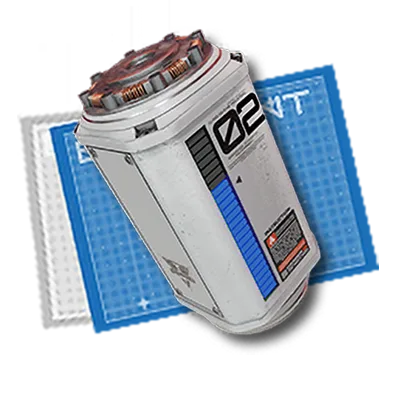
Place this blueprint in the Core AIC Area, then input Ferrium Part and Originium Ore to auto-produce SC Valley Batteries .
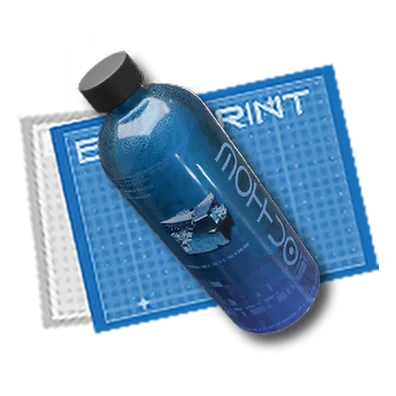
Place this blueprint in the Core AIC Area, then input Ferrium to auto-produce Ferrium Bottles .
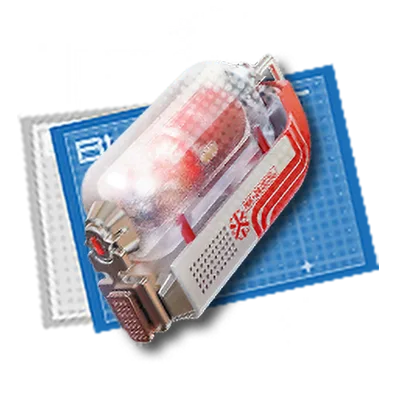
Place this blueprint in the Core AIC Area, then input Ferrium Bottle and Buckflowers to auto-produce Buck Capsules [B] .
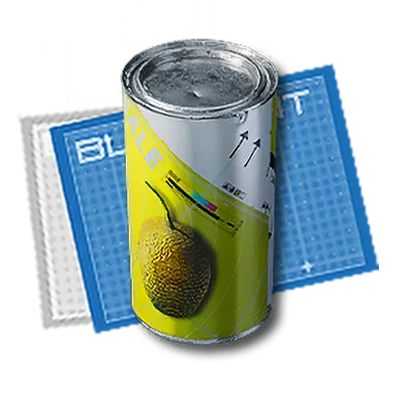
Place this blueprint in the Core AIC Area, then input Ferrium Bottle and Citromes to auto-produce Canned Citromes [B] .

Place this blueprint in the Core AIC Area, then input Sandleaves and Origocrusts to auto-produce Packed Origocrusts .
Place this blueprint in the Core AIC Area, then input Sandleaves and Amethyst Fibers to auto-produce Cryston Fibers .
Place this blueprint in the Core AIC Area, then input Ferrium Ore to auto-produce Ferrium Parts .
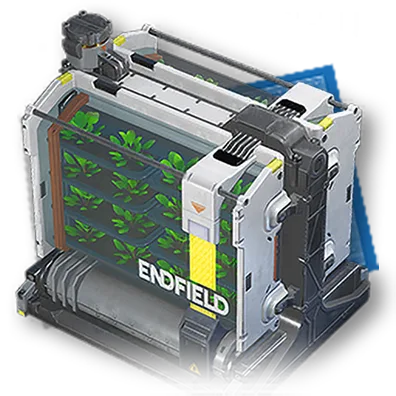
Place this blueprint in the Core AIC Area, then input 1 unit of any plant that can be plated in Planting Units to auto-produce an endless amount of that particular plant .
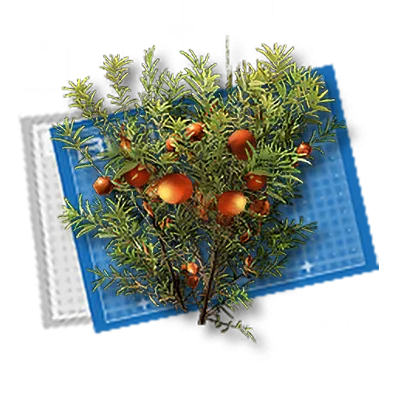
Place this blueprint in the Core AIC Area, then input 1 unit of Buckflower to auto-produce an endless amount of Buckflowers .
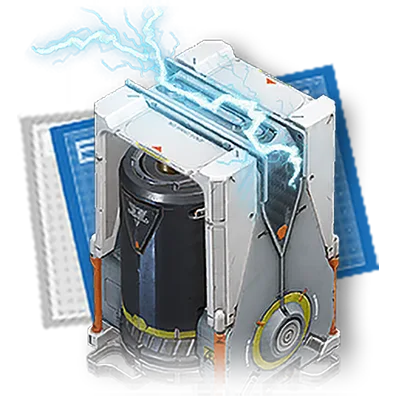
Place this blueprint in the Core AIC Area, then input Originium Ore to generate power automatically .
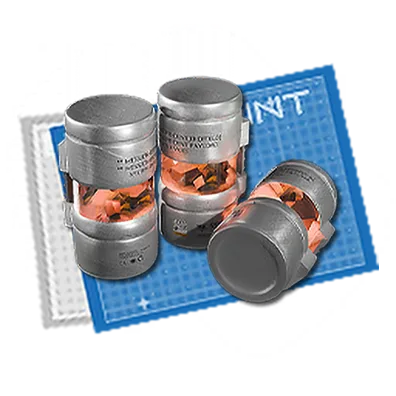
Place this blueprint in the Core AIC Area, then input Amethyst Parts and Aketine to auto-produce Industrial Explosives .
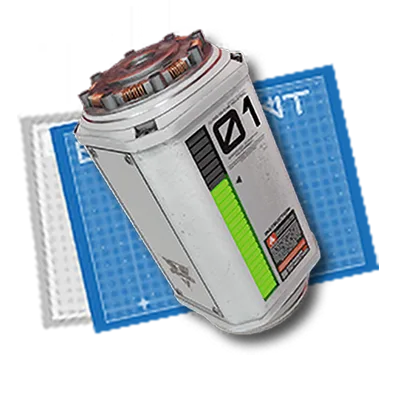
Place this blueprint in the Core AIC Area, then input Amethyst PArts and Originium Ore to auto-produce LC Valley Batteries .
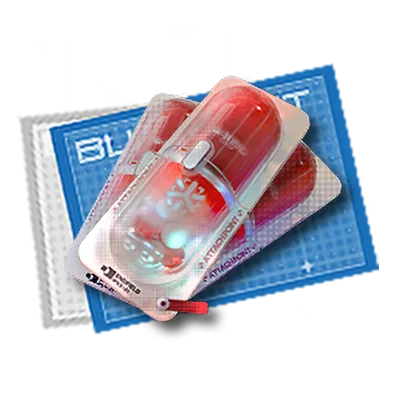
Place this blueprint in the Core AIC Area, then input Amethyst Bottles and Buckflowers to auto-produce Buck Capsules [C] .
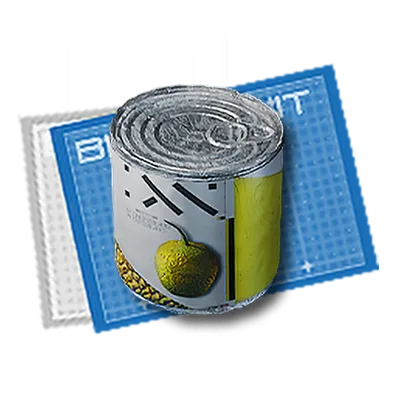
Place this blueprint in the Core AIC Area, then input Amethyst Bottles and Citromes to auto-produce Canned Citromes [C] .
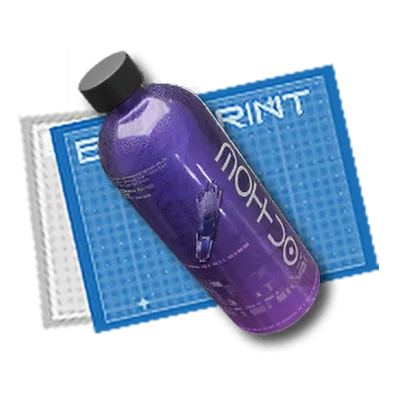
Place this blueprint in the Core AIC Area, then input Amethyst Ore to auto-produce Amethyst Bottles .
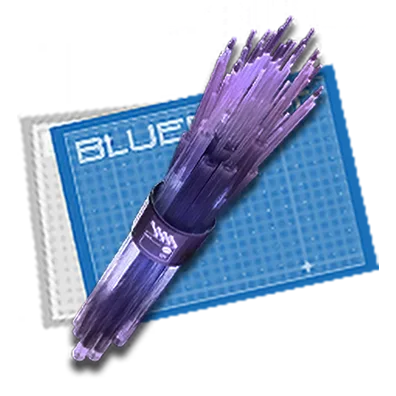
Place this blueprint in the Core AIC Area, then input Amethyst Ore to auto-produce Amethyst Fibers .
คำถามที่พบบ่อย
สูตรบลูปรินต์ของ Endfield ทำงานอย่างไรกันแน่?
วางไอเทมบลูปรินต์ไว้ใน Core AIC Area แล้วป้อน input ตรงตามที่สูตรระบุ (แสดงเป็นชิปด้านล่าง) เมื่อป้อนครบแล้ว สิ่งอำนวยความสะดวกจะผลิต output ต่อเนื่องอัตโนมัติโดยไม่ต้องป้อนอะไรเพิ่มจากคุณ
ตอนนี้ Endfield มีสูตรกี่สูตร?
สูตรบลูปรินต์ 42 สูตรได้รับการยืนยันในข้อมูลเกม แบ่งเป็นประเภทผลิตด้วย-AIC ใช้ได้ทันที และเก็บเกี่ยวจากธรรมชาติ
จะหาวัตถุดิบที่สูตรต้องการได้จากที่ไหน?
ชิปแต่ละ input ลิงก์ไปยังหน้าไอเทมของวัตถุดิบนั้นเมื่อพบข้อมูลตรงกันในข้อมูลไอเทม, valuables หรือบลูปรินต์ของเกม — เปิดดูเพื่อรู้ว่าวัตถุดิบนั้นดรอปจากไหนหรือผลิตได้อย่างไร