Recipes: AIC Blueprint Crafting Formulas
Endfield doesn't have a traditional crafting menu — instead you place a Blueprint inside your Core AIC Area and feed it the listed inputs, and the facility auto-produces the output forever. This page reads the actual input/output pairing out of all 42 blueprints in the game's data, so you can check what a recipe needs before you build it.
Recipes by Category
Which Recipes To Automate First
Pulled from the AIC Factory guide's automation-priority order — apply the same logic to blueprint choice.
You cannot automate everything on day one, and trying to is how bases end up half-built and fragile. Build automation in this order:
- Amethyst Parts production — Ore to Fiber to Parts via Shredding/Fitting Units. This feeds both your Thermal Bank construction and your early battery chain, so it pays off twice.
- LC Valley Battery line — the moment Packaging Units are available, per section 2's efficiency math. This is your first real power upgrade.
- Depot Node upgrades — raise storage caps before you scale production further; a full depot silently halts belts and is the most common false alarm in troubleshooting.
- SC / HC Valley Battery lines — only after your LC line and backup bank are stable. Each tier adds its own power draw (LC/SC/HC battery crafting all consume grid power to run), so don't chain them all at once.
- Reactor Crucible chemical lines (Xiranite, Cuprium, Hetonite solutions, etc.) — this is a Production II facility for crafting materials, not a power concern; automate it once your power base is stable, not before.
Do not automate Protocol Stashes as a storage shortcut — they draw power continuously with no off switch, and every one you place is a small permanent drain against your margin.
Common Mistakes
The same cascading-power mistake that breaks base layouts also breaks recipe chains that depend on that power.
The failure pattern reported consistently by players: your battery production line (Shredding Units, Fitting Units, Packaging Units) is itself powered by the same grid it feeds. If total consumption creeps above generation even briefly, the battery line is one of the things that stalls — which means no new batteries reach your Thermal Banks — which means the banks run dry — which means the facilities that were keeping the battery line running lose power too. The whole base goes dark in a chain reaction, and because everything died at once, there's no obvious single cause to point at when you come back to check on it.
Three rules that prevent it:
- Keep one Thermal Bank completely outside the loop. Feed it from a dedicated Originium Ore miner that isn't connected to anything else. If your battery pipeline ever collapses, this bank still runs on raw ore and gives you enough power to manually restart the rest by hand instead of rebuilding from zero.
- Never let your battery-crafting chain's own power draw eat your safety margin. Before adding a new Shredding/Fitting/Packaging Unit, check that your current surplus (generation minus consumption) can absorb it. If margin goes to zero, you're one hiccup away from a cascade.
- Never dump the output of a single battery-packaging line into just one Thermal Bank. Each bank only pulls one battery every 40 seconds — if your line produces faster than that, output backs up the belt and stalls the whole production chain behind it. Use a Splitter to round-robin batteries across several banks.
If you already blacked out, recovery checklist (community-reported staged approach):
- Remove — don't just disable — any Protocol Stashes; they draw power continuously and switching them off does not stop the drain.
- Get one Thermal Bank running on raw ore first; it ramps slowly but won't spike consumption further.
- Once power is climbing, reactivate mining facilities gradually rather than all at once.
- Bring battery production back online in stages (LC before SC before HC) so each tier's draw is absorbed before adding the next.
Full Recipe List (42)
Place this blueprint in the Core AIC Area, then input Cuprium Ore , Clean Water and Precipitation Acid to auto-produce Hetonite Solution .
Place this blueprint in the Core AIC Area, then input Hetonite Solution and Ferrium Ore to auto-produce Hetonite Part .
Place this blueprint in the Core AIC Area, then input Hetonite Part and Heavy Xiranite to auto-produce Hetonite Components .
Place this blueprint in the Core AIC Area, then input Xiranite , Clean Water and Sewage to auto-produce Heavy Xiranite .
Place this blueprint in the Core AIC Area, then input Sewage , Xiranite and Ferrium Ore to auto-produce Xircon .
Place this blueprint in the Core AIC Area, then input Xircon and Dense Originium Powder to auto-produce SC Wuling Batteries .
Place this blueprint in the Core AIC Area, then input Cuprium Ore and Clean Water to auto-produce Cuprium Bottles .
Place this blueprint in the Core AIC Area, then input Cuprium Ore and Clean Water to auto-produce Cuprium Parts .
Place this blueprint in the Core AIC Area, then input Cuprium Bottles and Yazhen Solution to auto-produce Yazhen Syringes [A] .
Place this blueprint in the Core AIC Area, then input Cuprium Parts and Xiranite to auto-produce Cuprium Components .
Place this blueprint in the Core AIC Area, then input Amethyst Ore and Originium Ore to auto-produce Amethyst Components .
Place this blueprint in the Core AIC Area, then input Amethyst Ore to auto-produce Amethyst Parts .
Place this blueprint in the Core AIC Area, then input Originium Ore to auto-produce Origocrusts .
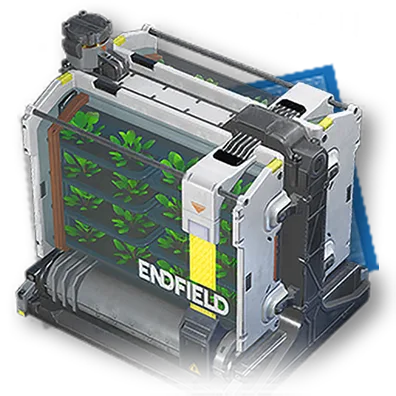
Place this blueprint in the Core AIC Area, then input clean Water and 1 unit of any plant that can be processed at the Seed-Picking Unit and Planting Unit to auto-produce an endless amount of that plant .
Place this blueprint in the Core AIC Area, then input Ferrium Bottle and Jincao Solution to auto-produce Jincao Drink .
Place this blueprint in the Core AIC Area, then input Ferrium Bottles and Yazhen Solution to auto-produce Yazhen Syringes [C] .
Place this blueprint in the Core AIC Area, then input Yazhen and Clean Water to auto-produce Yazhen Solution .
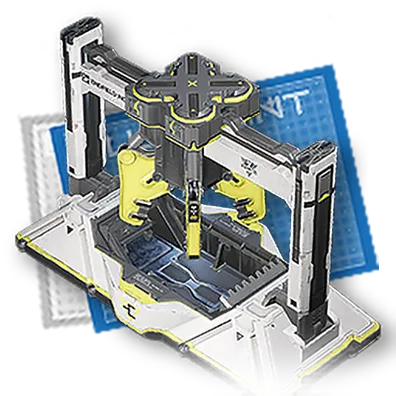
Place this blueprint in the Core AIC Area, then input bottles filled with a fluid to auto-produce empty bottles and that fluid .
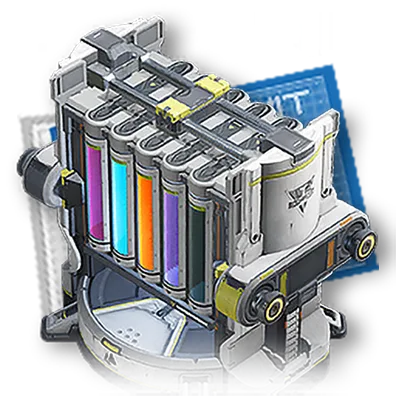
Place this blueprint in the Core AIC Area, then input soluable plants and Clean Water to auto-produce the solution of that plant .
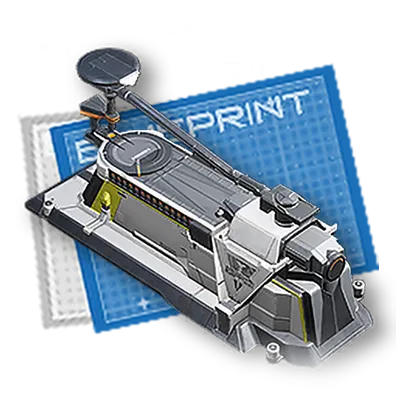
Place this blueprint in the Core AIC Area, then input Ferrium Bottle and any fluid to auto-produce Ferrium Bottles filled with that fluid .
Place this blueprint in the Core AIC Area, then input Clean Water , Carbon , and Sandleaves to auto-produce Xiranite .
Place this blueprint in the Core AIC Area, then input Xiranite and Dense Originium Powder to auto-produce LC Wuling Batteries .
Place this blueprint in the Core AIC Area, then input Sandleaves and Originium Ore to auto-produce Dense Originium Powder .
Place this blueprint in the Core AIC Area, then input Sandleaves and Ferrium Ore to auto-produce Dense Ferrium Powder .
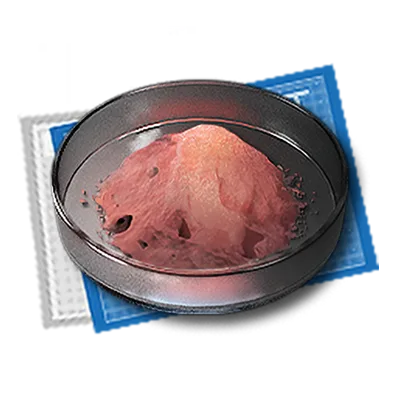
Place this blueprint in the Core AIC Area, then input Sandleaves and Buckflowers to auto-produce Ground Buckflower Powder .
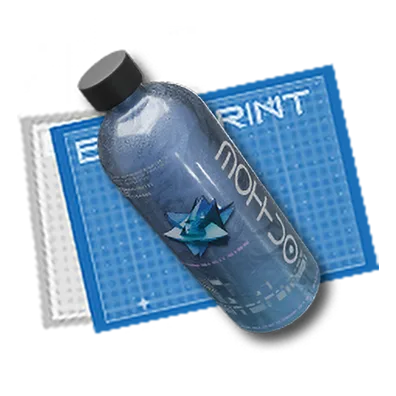
Place this blueprint in the Core AIC Area, then input Dense Ferrium Powder to auto-produce Steel Bottles .
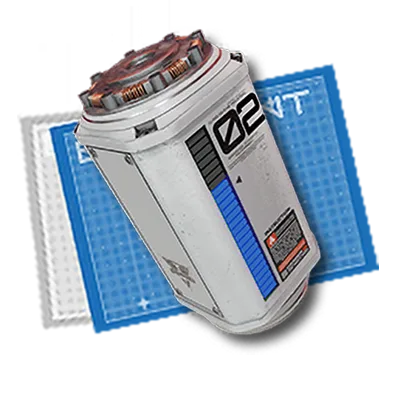
Place this blueprint in the Core AIC Area, then input Ferrium Part and Originium Ore to auto-produce SC Valley Batteries .
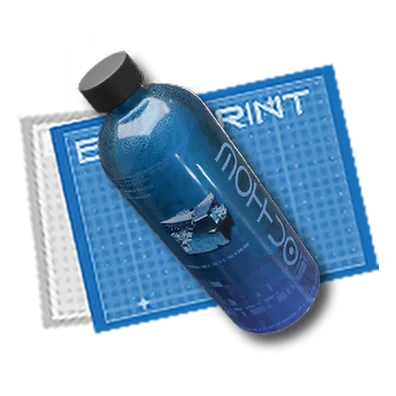
Place this blueprint in the Core AIC Area, then input Ferrium to auto-produce Ferrium Bottles .
Place this blueprint in the Core AIC Area, then input Ferrium Bottle and Buckflowers to auto-produce Buck Capsules [B] .
Place this blueprint in the Core AIC Area, then input Ferrium Bottle and Citromes to auto-produce Canned Citromes [B] .

Place this blueprint in the Core AIC Area, then input Sandleaves and Origocrusts to auto-produce Packed Origocrusts .
Place this blueprint in the Core AIC Area, then input Sandleaves and Amethyst Fibers to auto-produce Cryston Fibers .
Place this blueprint in the Core AIC Area, then input Ferrium Ore to auto-produce Ferrium Parts .
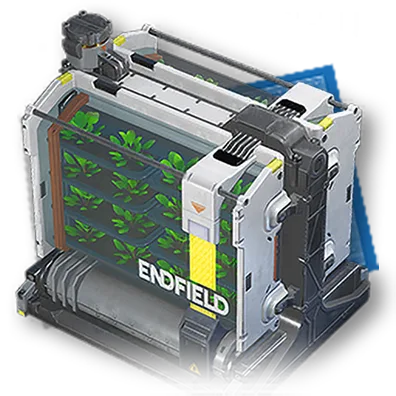
Place this blueprint in the Core AIC Area, then input 1 unit of any plant that can be plated in Planting Units to auto-produce an endless amount of that particular plant .
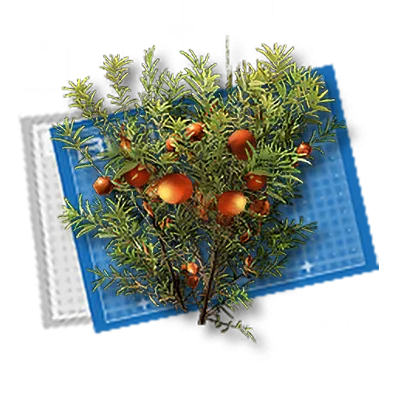
Place this blueprint in the Core AIC Area, then input 1 unit of Buckflower to auto-produce an endless amount of Buckflowers .
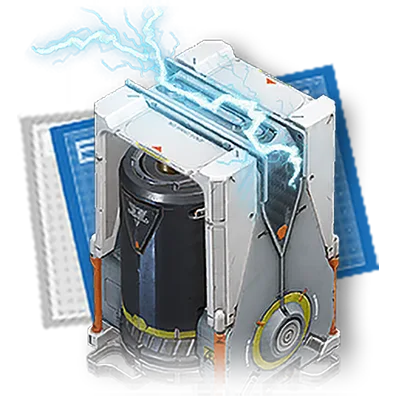
Place this blueprint in the Core AIC Area, then input Originium Ore to generate power automatically .
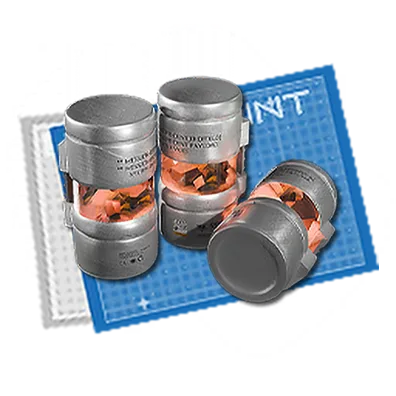
Place this blueprint in the Core AIC Area, then input Amethyst Parts and Aketine to auto-produce Industrial Explosives .
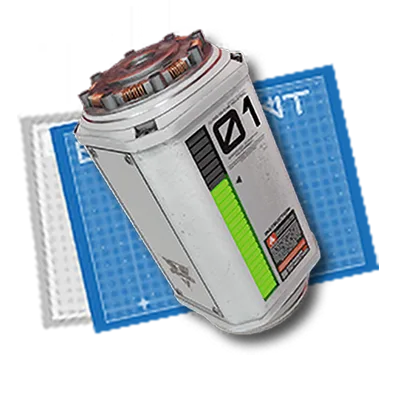
Place this blueprint in the Core AIC Area, then input Amethyst PArts and Originium Ore to auto-produce LC Valley Batteries .
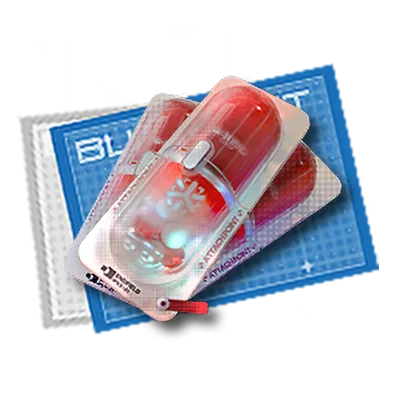
Place this blueprint in the Core AIC Area, then input Amethyst Bottles and Buckflowers to auto-produce Buck Capsules [C] .
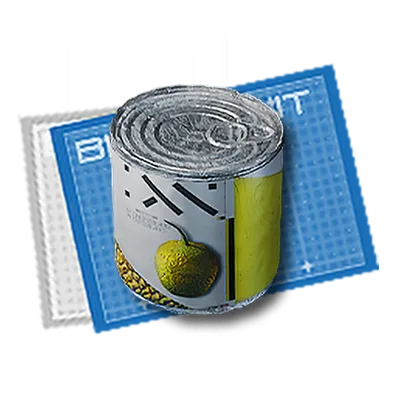
Place this blueprint in the Core AIC Area, then input Amethyst Bottles and Citromes to auto-produce Canned Citromes [C] .
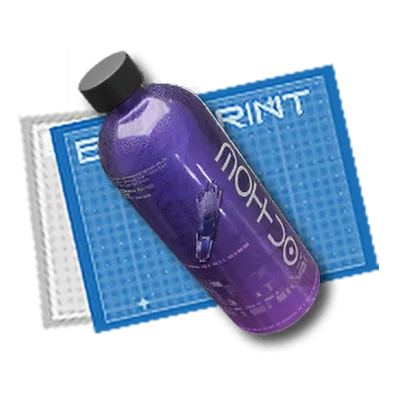
Place this blueprint in the Core AIC Area, then input Amethyst Ore to auto-produce Amethyst Bottles .
Place this blueprint in the Core AIC Area, then input Amethyst Ore to auto-produce Amethyst Fibers .
Frequently Asked Questions
How do Endfield blueprint recipes actually work?
Place the Blueprint item inside the Core AIC Area, then feed it the exact inputs the recipe lists (shown as chips below). Once supplied, the facility keeps auto-producing the output without further input from you.
How many recipes does Endfield have right now?
42 Blueprint recipes are confirmed in the game's data, split across AIC-crafted, directly usable, and natural-harvest types.
Where do I find the materials a recipe needs?
Each input chip links to that material's own item page when a match is found in the game's item, valuables, or blueprint data — open it to see where that material drops or how it's produced.