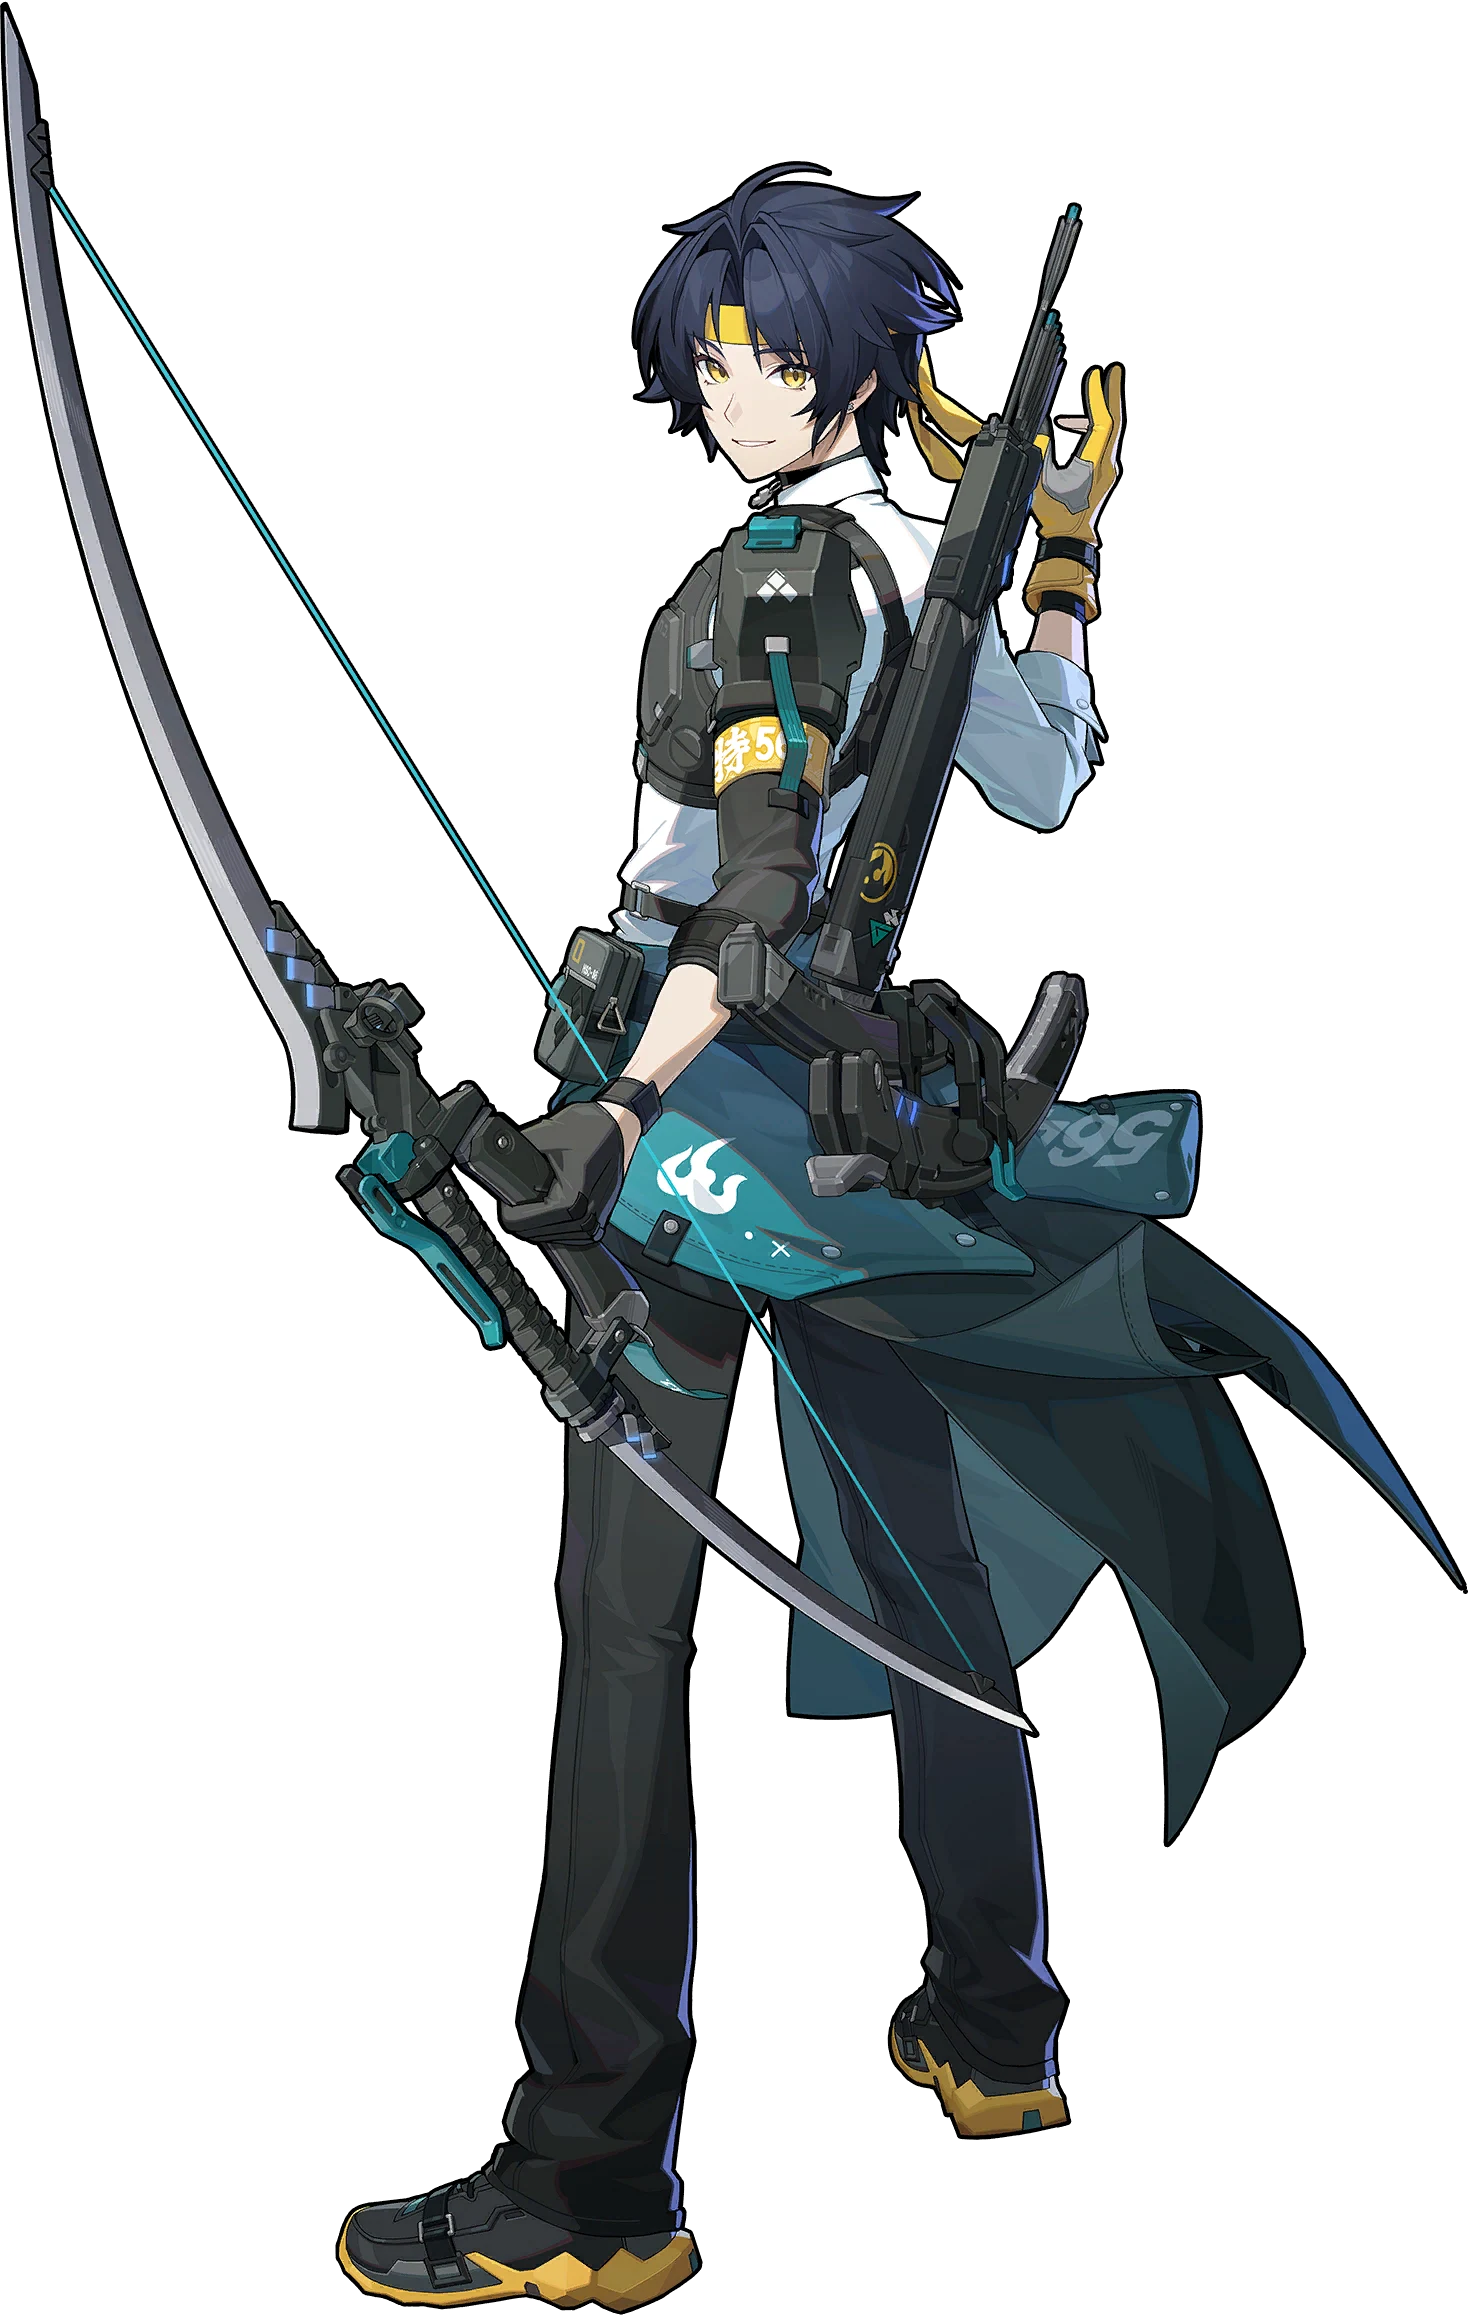
Harumasa
An Electric Attack agent who wields a bow, funneling his damage through his EX Special (a rain of arrows) inside the Stun window; he needs a Stunner and Electric buffs alongside him.
Tier S · Attack · Electric. BiS: Zanshin Herb Case. An Electric Attack agent who wields a bow, funneling his damage through his EX Special (a rain of arrows) inside the Stun window; he needs a Stunner and Electric buffs alongside him.
Best W-Engines
Recommended Drive Discs
4: CRIT Rate / CRIT DMG · 5: Electric DMG · 6: ATK%
Prioritize CRIT Rate/CRIT DMG > ATK% > PEN
Skill priority: EX Special/Special > Basic > Core > Assist > Chain


Worth building if you like Electric Attackers and have a good Stunner: he pins down single-target damage very cleanly, and pairing him with ![]() Dialyn makes his power leap. His weaknesses are a heavy dependence on his team (he needs Stun + buffs) and being fairly picky about CRIT sub-stats; solo or on a weak team, he falls off hard.
Dialyn makes his power leap. His weaknesses are a heavy dependence on his team (he needs Stun + buffs) and being fairly picky about CRIT sub-stats; solo or on a weak team, he falls off hard.
Level 60 targets (per game8/gamewith/appmatch): beginner ATK ~2,000 / Crit Rate 50% / Crit DMG 100%; M0 WITHOUT signature ATK 2,500-2,800 / CR 75% / CD 150%; M0 WITH Zanshin Herb Case ATK ~2,500 / CR 55% / CD 170% (the engine hands over 10-20% CR, so you can relax disc CR and pile on CD). The key threshold: keep at least ~75% Crit Rate off-signature — because Harumasa spams Dash Attacks, low CR tanks his crit rate and makes burst inconsistent (per gamewith). Main stats: disc 4 CR/CD (~1:2 ratio) · disc 5 Electric DMG or ATK% · disc 6 ATK%. Substat priority: Crit Rate = Crit DMG > ATK% > PEN.
1) OPENER: swap in, hold Basic (甲乙の矢) or use EX Special to apply Electro Prison (囚電) to the target; against multiple foes pan your aim to spread stacks. 2) Once a target has 2+ Electro Prison, a Cross mark (十文字) appears → unlocking the enhanced Dash Attack. 3) MAIN LOOP: wait for your Stunner (Qingyi/Dialyn) to break the enemy, then SPAM Dash Attacks to burn all Cross marks — this is her largest damage source. 4) Weave in EX Special to refill stacks and keep Electro Prison from expiring. 5) ULTIMATE (Firmament Star): fire it inside the stun window for burst, then loop back to step 3. Core idea: dump all Dash Attacks precisely inside the stun window.
The single best value. Electro Prison (囚電) cap goes from 8 to 14 stacks and each Electro Quiver now fires 2 arrows back-to-back — meaning far more enhanced Dash Attack windows and much smoother, denser output (prydwen + mistermenplays + game8 all rank M1 as the standout node). Since Harumasa is a near-free agent, M1 is the ideal stopping point for F2P.
Chain/Ultimate grants 7 stacks of Electro Blitz, each giving Dash Attack +50% dmg (consumed as you hit). It shifts the combo tempo and adds front-loaded burst, but doesn't change the playstyle — a moderate bump, not a must-buy node (per prydwen).
All skills (Basic/Assist/Dodge/Special/Chain) +2 levels. Just flat numbers with no gameplay change — low value, a stepping stone to M4.
Electro Prison duration extends to 20s, Dash Attack generates 30 extra Decibels, and Ultimate applies max stacks to ALL enemies. Mostly AoE utility + slightly faster Ult cycling; the single-target dmg bump is small. Handy for multi-enemy content but not worth pulling for alone (per mistermenplays).
All skills +2 levels again. Still just flat numbers, a bridge to M6 — low value.
Hitting stunned/anomaly enemies ignores 15% Electric RES for 12s, and every 12 hits triggers an extra 1500% ATK Electric explosion. A big damage add, but whale-tier — most players stop at M1; only those with spare resources aim straight for M6 (skipping the filler M3-M5).
- Extremely clean single-target burst: his Dash Attack chains melt bosses in the stun window, one of the tidiest Electric Attackers for focused damage.
- High mobility: the Dash Attack is both his damage and a repositioning move, making it easy to dodge and reposition mid-combo.
- Near-free (gift/easy-to-own agent) yet still S-tier — a huge value pick for F2P, needing only CRIT disc investment to carry single-target content.
- Cheap-but-strong teams: an F2P Anby + Nicole core already works well, and upgrading to Qingyi + Astra/Rina makes his power jump.
- Heavily Stun-reliant: his damage only spikes while the enemy is stunned — short stun windows or a weak Stunner tank his output (per mistermenplays).
- Demanding CRIT substats: needs ~75% Crit Rate off-signature for consistent Dash crits, requiring fairly heavy disc farming.
- Steep skill curve: the Electro Prison → Cross mark → Dash-spam rhythm demands precise execution and stun-window timing, harder than a point-and-shoot Attacker.
Excellent in Shiyu Defense: single-target / few-enemy stages are his home turf — with Qingyi + Astra Yao or Qingyi + Rina, his Dash Attack chains dumped into the stun window can melt a boss in one cycle. game8/prydwen place him among the strong Electric Attackers, just under a few top carries due to his stun-uptime dependence.
Mid-to-solid in Deadly Assault: crowds of high-HP enemies aren't his forte (he's a single-target specialist), but M4's AoE stacking and a Shock team (Grace/Yanagi + Thunder Metal set) help spread his damage wider. As long as a Stunner keeps breaks flowing he scores decently; without stun he drops off hard.
 Basic Attack4
Basic Attack: Cloud Piercer
Press to activate:Launch up to five piercing attacks ahead, dealing Physical DMG and Electric DMG.When the 5th hit of the Basic Attack hits an enemy, it generates 2 Electro Quivers.After activating a Chain Attack, the next time Harumasa activates the 5th hit of Basic Attack: Cloud Piercer and hits an enemy with it, it generates 6 Electro Quivers.
Basic Attack: Cloud Piercer - Drift
During Basic Attack: Cloud Piercer, drag the and press to activate:Shoot a ranged piercing attack and reposition towards the corresponding drag direction, dealing Physical DMG.
Basic Attack: Falling Feather
After the 5th hit of Basic Attack: Cloud Piercer, a Special Attack, an EX Special Attack, or a Chain Attack, hold to activate:Immediately shoot Falling Feather at enemies ahead, dealing Electric DMG.Hold to aim at a target and release to activate:After drawing the bowstring and aiming, shoot Falling Feather at the target, dealing Electric DMG.
Basic Attack: Ha-Oto no Ya
When the 5th hit of Basic Attack: Cloud Piercer/EX Special Attack/Chain Attack hits an enemy or the ground, it can generate 2/6/6 Electro Quivers. If there are no Electro Quivers on the field when any squad member applies an Attribute Anomaly to an enemy, generate 6 Electro Quivers. This effect can trigger once every 12s.There can be up to 6 Electro Quivers present at a time. If there are any Electro Quivers present when Harumasa fires and hits enemies with Falling Feather, the Electro Quivers will activate and fire Ha-Oto no Ya at the enemies hit by Falling Feather, dealing Electric DMG.Ha-Oto no Ya will apply Electro Prison to enemies hit, stacking up to 8 times and lasting 10s, repeated triggers reset the duration. While a target has at least 2 stacks of Electro Prison, they will be X-Marked.
 Dodge4
Dodge: Quick Flash
Press to activate:A quick dash dodge.Character is invulnerable while using this skill.
Dash Attack: Hiten no Tsuru
Press during a dodge to activate:Launch multiple piercing attacks ahead, dealing Physical DMG.
Dodge Counter: Hidden Edge
Press during a Perfect Dodge to activate:Pierces enemies in front, dealing Electric DMG.Character is invulnerable while using this skill.
Dash Attack: Hiten no Tsuru - Slash
While there are X-Marked enemies on the field, Harumasa will enter the Awakened state, switching Dash Attack: Hiten no Tsuru for Dash Attack: Hiten no Tsuru - Slash.While in the Awakened state, press during a dodge to activate:Rush forwards to the closest X-Marked enemy and execute a powerful slash, dealing Electric DMG.When the slash hits the target, it consumes 2 stacks of Electro Prison. With less than 2 stacks of Electro Prison, X-Marked will be removed from the enemy. Before X-Marked is removed, repeatedly press to repeatedly use Dash Attack: Hiten no Tsuru - Slash. While no X-Marked enemies exist on the field, Harumasa leaves the Awakened state.While in the Awakened state, press after Basic Attack: Falling Feather to quickly follow up with Dash Attack: Hiten no Tsuru - Slash.During skill activation, Anti-Interrupt level increases, and DMG taken is reduced by 40%.[Awakened Potential]While there are X-Marked enemies on the field, Harumasa will enter the Awakened state, switching Dash Attack: Hiten no Tsuru for Dash Attack: Hiten no Tsuru - Slash.While in the Awakened state, press to activate:Rush forward to the closest X-Marked enemy and execute a powerful slash, dealing Electric DMG. Hitting a Stunned enemy triggers Chasing Thunder, dealing 1 instance of additional Electric DMG.When the slash hits the target, it consumes 2 stacks of Electro Prison. With less than 2 stacks of Electro Prison, X-Marked will be removed from the enemy. Before X-Marked is removed, repeatedly press to repeatedly use Dash Attack: Hiten no Tsuru - Slash. While no X-Marked enemies exist on the field, Harumasa leaves the Awakened state.While in the Awakened state, press to after Basic Attack: Falling Feather to quickly follow up with Dash Attack: Hiten no Tsuru - Slash.Enemy attacks can be blocked during the 1st hit of the skill. The pursuit effect of the second and third hits is increased.During skill activation, Anti-Interrupt level increases, and DMG taken is reduced by 40%.
 Assist3
Quick Assist: Braced Bow
When the on-field character is launched, press to activate:Unleash a piercing attack at enemies ahead, dealing Electric DMG.Character is invulnerable while using this skill.
Defensive Assist: Yugamae
When the on-field character is about to be attacked, press to activate:Parries the enemy's attack, dealing massive Daze.Character is invulnerable while using this skill.
Assist Follow-Up: Yugamae - Slash
Press after a Defensive Assist to activate:Unleash a series of slashes at enemies ahead, dealing Electric DMG.Character is invulnerable while using this skill.
 Special Attack3
Special Attack: Nowhere to Hide
Press to activate:Launch an arrow forward, dealing Electric DMG.Anti-Interrupt level is increased while using this skill.
EX Special Attack: Nowhere to Run
With enough Energy, press to activate:Launch daggers and an enhanced arrow ahead, dealing massive Electric DMG.When the enhanced arrow hits an enemy or the ground, it generates 6 Electro Quivers.Character is invulnerable while using this skill.
EX Special Attack: Nowhere to Run - Patrol
[Skill unlocked after Awakening Potential]With enough energy, press after using the 4th/5th attack of Basic Attack: Cloud Piercer, Dash Attack: Hiten no Tsuru - Slash, an Ultimate, Dodge Counter: Hidden Edge, or Quick Assist: Braced Bow to activate:Fire enhanced arrows forward in rapid succession, dealing massive Electric DMG.When the first enhanced arrow hits an enemy or the ground, 6 Electro Quivers are generated. When the final enhanced arrow hits an enemy, it activates the Electro Quivers on the field, firing Ha-Oto no Ya at the target, dealing Electric DMG.When the target's Electro Prison stacks are close to the maximum, fewer Electro Quivers will be activated.Character is invulnerable while using this skill.
 Chain Attack3
Chain Attack: Kai - Hanare
When a Chain Attack is triggered, select the character to activate:Unleash a piercing attack on enemies in a large area ahead then fire an enhanced arrow, dealing massive Electric DMG.When the arrow hits the ground, it generates 6 Electro Quivers.Character is invulnerable while using this skill.
Ultimate: Zanshin
When Decibel Rating is at Maximum, press to activate:Unleash a piercing attack on enemies in a large area ahead, dealing massive Electric DMG.Character is invulnerable while using this skill.
Zanshin - Scattered Blossoms
[Skill unlocked after Awakening Potential]Activates ALT Automatically after Ultimate:Unleashes a wide-area piercing attack against enemies in front, dealing Electric DMG. This is considered Ultimate DMG.Character is invulnerable while using this skill.
 Core Skill3
Core Passive: Day Break
The CRIT Rate of Dash Attack: Hiten no Tsuru - Slash increases by 10.6%, and when Harumasa's Dash Attack: Hiten no Tsuru - Slash triggers a critical hit against an enemy, he gains 1 stack of Gleaming Edge, for up to a maximum of 3 stacks per use of the skill and stacking up to 6 times, lasting 5s, repeated triggers reset the duration. Each stack of Gleaming Edge increases the CRIT DMG of Dash Attack: Hiten no Tsuru - Slash by 6%.[Awakened Potential]The CRIT Rate of Dash Attack: Hiten no Tsuru - Slash, Chasing Thunder, and Ultimate increase by 10.6%. When Harumasa's Dash Attack: Hiten no Tsuru - Slash/Ultimate triggers a critical hit against an enemy, he gains 1/6 stacks of Gleaming Edge. Dash Attack: Hiten no Tsuru - Slash can grant a maximum of 3 stacks per activation, and Gleaming Edge can stack up to 6 times, lasting 5s. Repeated triggers reset the duration. Each stack of Gleaming Edge increases the CRIT DMG of Dash Attack: Hiten no Tsuru - Slash, Chasing Thunder, and Ultimate by 6%.*Stats shown are at Base level.
Additional Ability: Overclock
When another character in your squad is a Stun or Anomaly character:When Harumasa's attacks hit Stunned enemies or enemies under Attribute Anomaly, his DMG increases by 40%. When Harumasa's Falling Feather hits Stunned enemies or enemies under Attribute Anomaly, it will apply 2 stacks of Electro Prison to the target.
Potential Awakening: Focus
When activating an EX Special Attack, Chain Attack, or Ultimate, increases ATK by 4%.Dash Attack: Hiten no Tsuru - Slash and Chasing Thunder ignore 5% of the target's Electric RES for 12s. Repeated triggers reset the duration.Extends the duration of Core Passive's Gleaming Edge to 10s.*Stats shown are at Base level.


What is the best W-Engine for Harumasa?
Harumasa performs best with Zanshin Herb Case. See alternatives and required stats in the Gear section above.
Is Harumasa worth pulling?
Worth building if you like Electric Attackers and have a good Stunner: he pins down single-target damage very cleanly, and pairing him with Dialyn makes his power leap. His weaknesses are a heavy dependence on his team (he needs Stun + buffs) and being fairly picky about CRIT sub-stats; solo or on a weak team, he falls off hard.
What is the best team for Harumasa?
Harumasa works best in the Classic Stun team. Full members and rotation are in the Teams section.