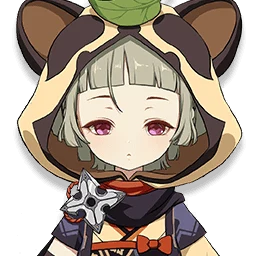
Sayu Constellation Compare C0→C6
All 6 constellations of Sayu laid out side by side, plus a full R1→R5 refinement table for any weapon, to see the exact damage scaling.
Constellation
C0 = no constellation unlocked (base character) — the reference column so you can see what each constellation ADDS.
C0 = no constellation unlocked (base character) — the reference column so you can see what each constellation ADDS.
The Muji-Muji Daruma created by Yoohoo Art: Mujina Flurry will ignore HP limits and can simultaneously attack nearby opponents and heal characters.
#Yoohoo Art: Fuuin Dash gains the following effects:
·DMG of Fuufuu Whirlwind Kick in Press Mode increased by 3.3%.
·Every 0.5s in the Fuufuu Windwheel state will increase the DMG of this Fuufuu Whirlwind Kick by 3.3%. The maximum DMG increase possible through this method is 66%.
Increases the Level of Yoohoo Art: Mujina Flurry by 3.
Maximum upgrade level is 15.
Sayu recovers 1.2 Energy when she triggers a Swirl or Stellar Swirl reaction while on-field.
This effect occurs once every 2s.
Increases the Level of Yoohoo Art: Fuuin Dash by 3.
Maximum upgrade level is 15.
The Muji-Muji Daruma created by Sayu's Yoohoo Art: Mujina Flurry will now also benefit from her Elemental Mastery. Each point of Sayu's Elemental Mastery will produce the following effects:
·Increases the damage dealt by the Muji-Muji Daruma's attacks by 0.2% ATK. A maximum DMG increase of 400% ATK can be gained via this method.
·Increases the HP restored by the Muji-Muji Daruma by 3. A maximum of 6,000 additional HP can be restored in this manner.
Weapon Refinement Compare (R1→R5)
This compares refinements of ANY weapon you pick — not necessarily this character's 'signature' weapon (we don't fabricate a signature claim the publisher hasn't made).
Saved on this device — auto-filled next time.
 Character Compare→
 Characters→